

Published September 3, 2026 09:41AM
Over the last few years, I’ve fallen in love with gravel biking for the sense of adventure it gives me. I’d much rather spend a day exploring rugged, remote roads that wind through nature than going head-to-head with competitors at a starting line.
But this year I pushed myself to try a new challenge: my first-ever gravel bike race. I signed up not to compete with other riders but to prove to myself I can do hard things. For my debut, I chose the 34-mile “Short Haul” route in the Cow Pie Classic. Held every June in Ionia, a small town in western Michigan, this gravel grinder lives up to its name: Biking along gravel roads through working farmland and rolling fields, you’re more likely to see cows than cars.
Intimidated doesn’t begin to describe how I felt. Having never entered a race before, I had no idea what to expect. At the starting line, endurance athletes outfitted in tight spandex bibs and shiny clipless bike cleats finagled their way up to the front while I took my place at the back of the pack.
Thankfully, I’d spent the months leading up to race day dialing in my gear, testing what worked and ditching what didn’t. My refined gravel biking kit turned out to be one of the biggest reasons I made it through 34 miles of farmland and bumpy roads in one piece.
From a budget bike to a tubeless repair kit, here are ten gravel biking essentials I used on race day, and the gear I now recommend to every beginner gravel biker I meet.
The Complete Beginner’s Gravel Bike Kit
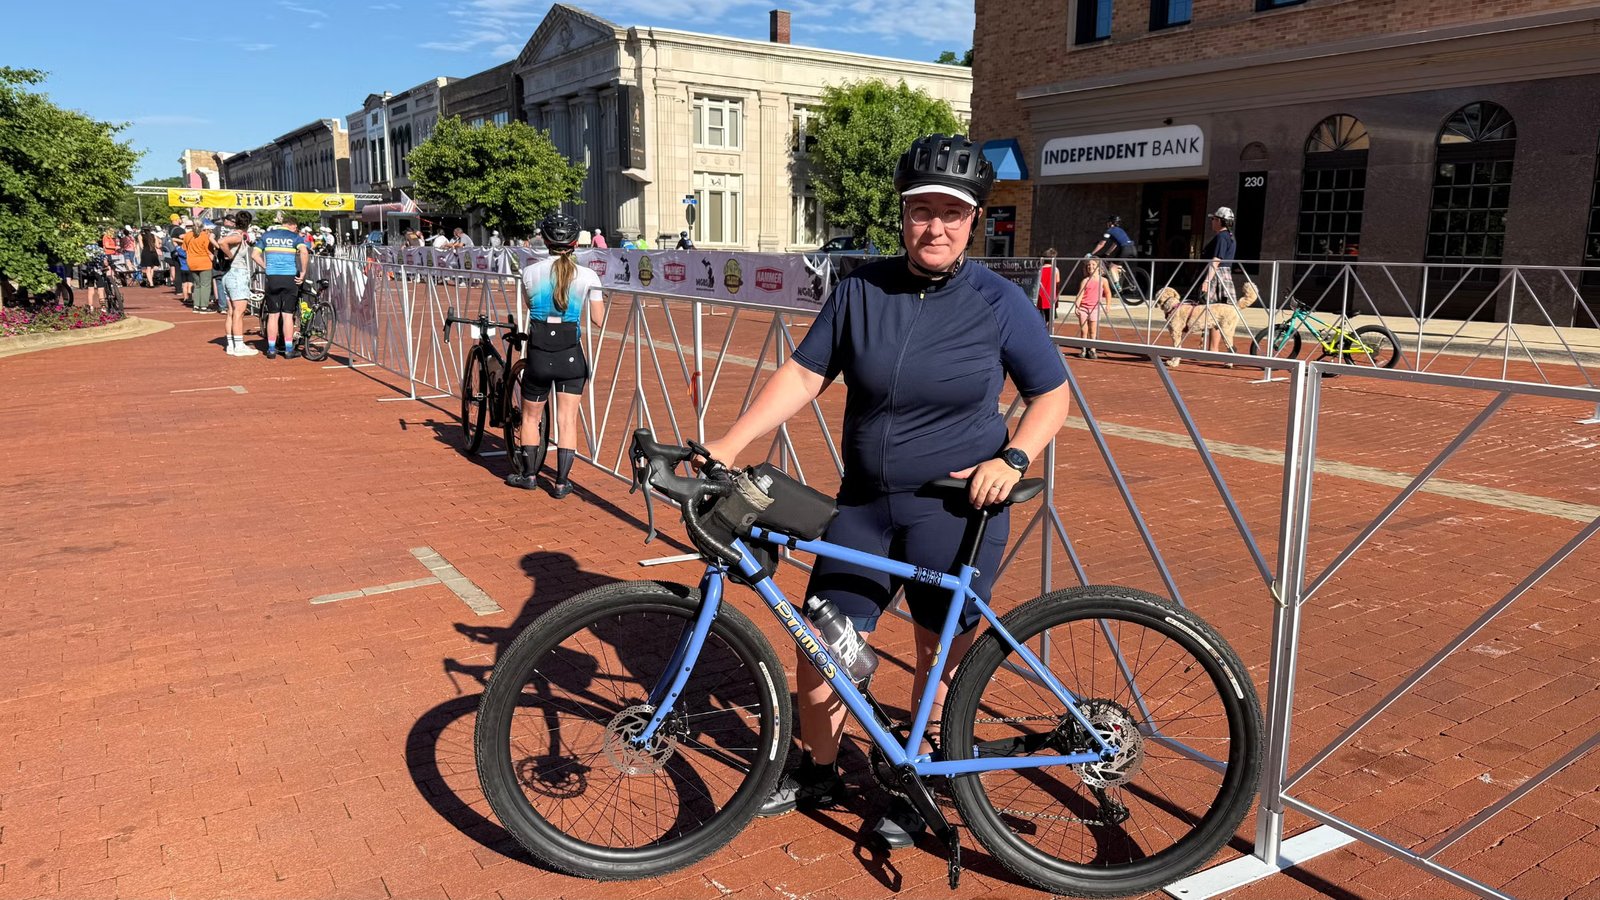
Primos Dame Gravel Bike
There’s no world in which, as a beginner gravel biker, I would spend an entire mortgage payment’s worth of money on a new bike. Keep in mind, I live in Chicago, where rent is sky high. But you get my drift. The Primos Dame, however, costs under $1,000, and has tons of features that make it great not just for gravel riding but other styles of biking too, like bikepacking and commuting. It’s perfect for a new gravel rider who’s not interested, or not yet ready, to invest the price of a used car in a top-tier bike.
The bike, with a chromoly steel frameset and 27.5-inch tires, is heavier than most gravel bikers prefer, but honestly, on it I felt more stable and rooted to the ground beneath me. Around mile 20 of the Cow Pie Classic, when the course turned into mowed grassy paths and firm singletrack littered with roots and rocks, I watched riders on daintier frames get bounced around while I stayed firmly planted. One guy even tipped over and fell into the grass. Was I riding slower? For sure. But I was a lot more confident on a bike that could take a hit and keep going, and that was more important to me. That, and I like that the drop bars let me change up my grip position on mixed surfaces and longer rides.
Specialized Search Helmet
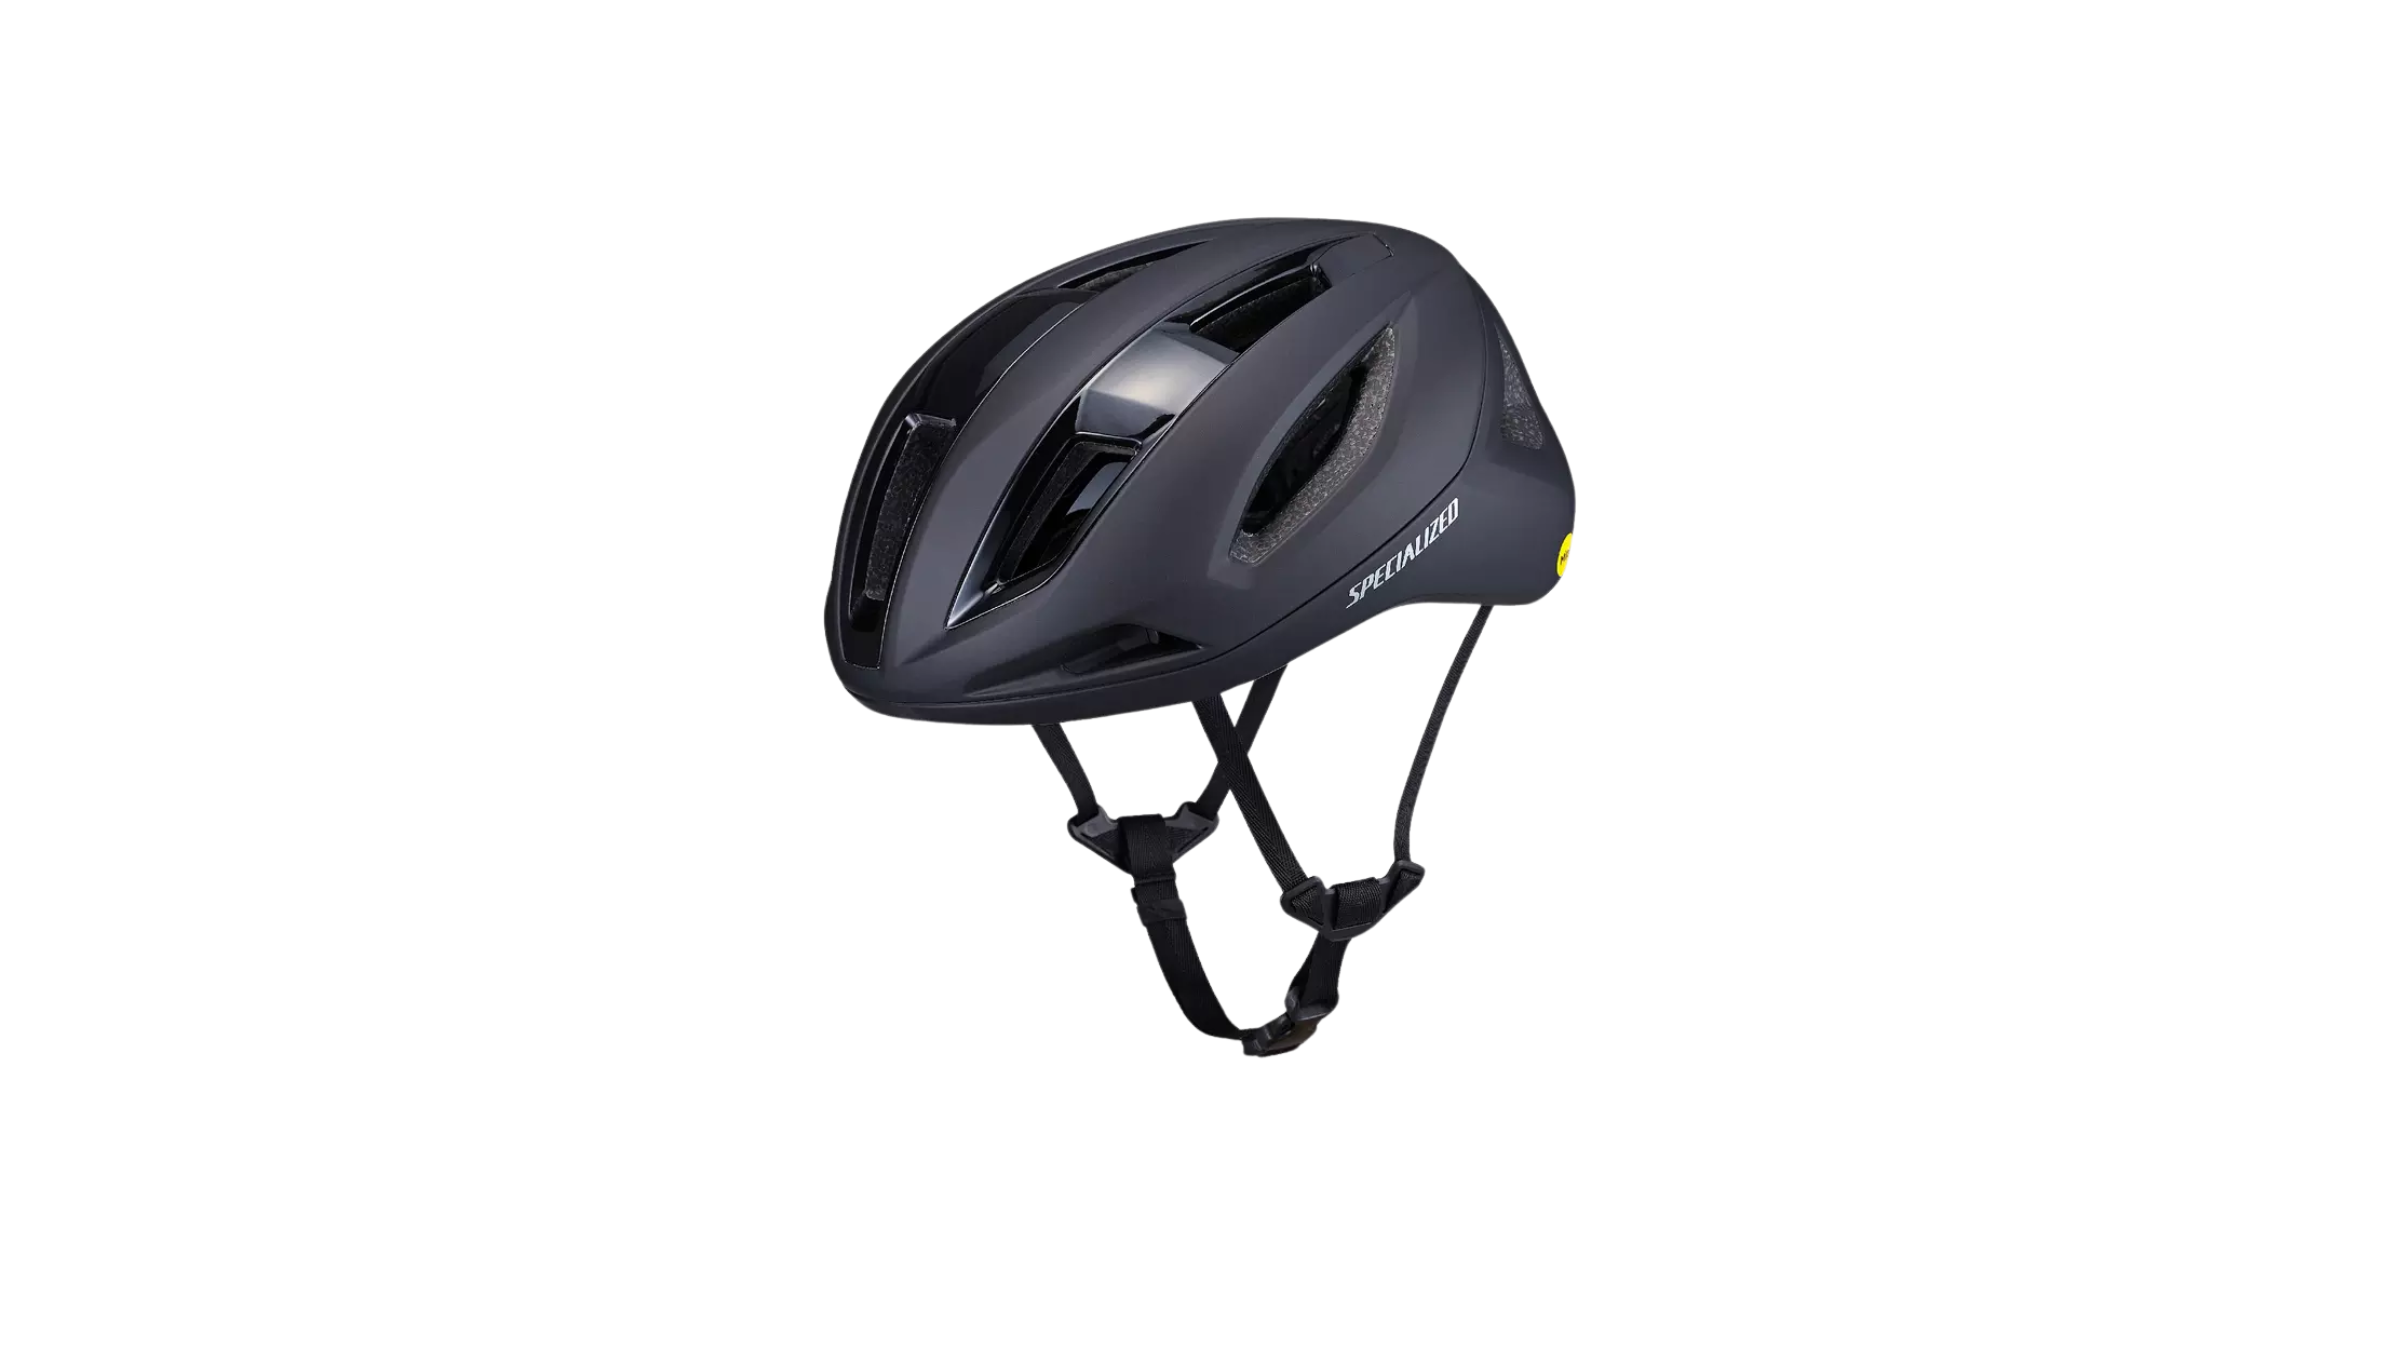
Just like bikes, helmets come in a dizzying range of options. And also like bikes, when it comes to choosing a helmet, fit matters most. Gravel helmets like Specialized’s Search borrow extra rear-skull coverage from mountain bike helmets, but keep the airy, lightweight profile that road cyclists want for long miles. It’s bulkier than some of my sleeker road helmets, but lightweight, and I like that a hat fits underneath to block the sun. It’s also reasonably priced for how stylish it is.
Gearing up for the Cow Pie Classic, I was certainly wary of spills on the route. We rode through a lot of technical terrain, including singletrack trails through wooded areas, bumpy grassy paths through farmers’ fields, and some relatively steep downhills that I’m not used to in Chicago. I was thankful to have a helmet that I could rely on if I went down.
Wild Rye Alyssa Stash Chammy & Gem Distance Jersey
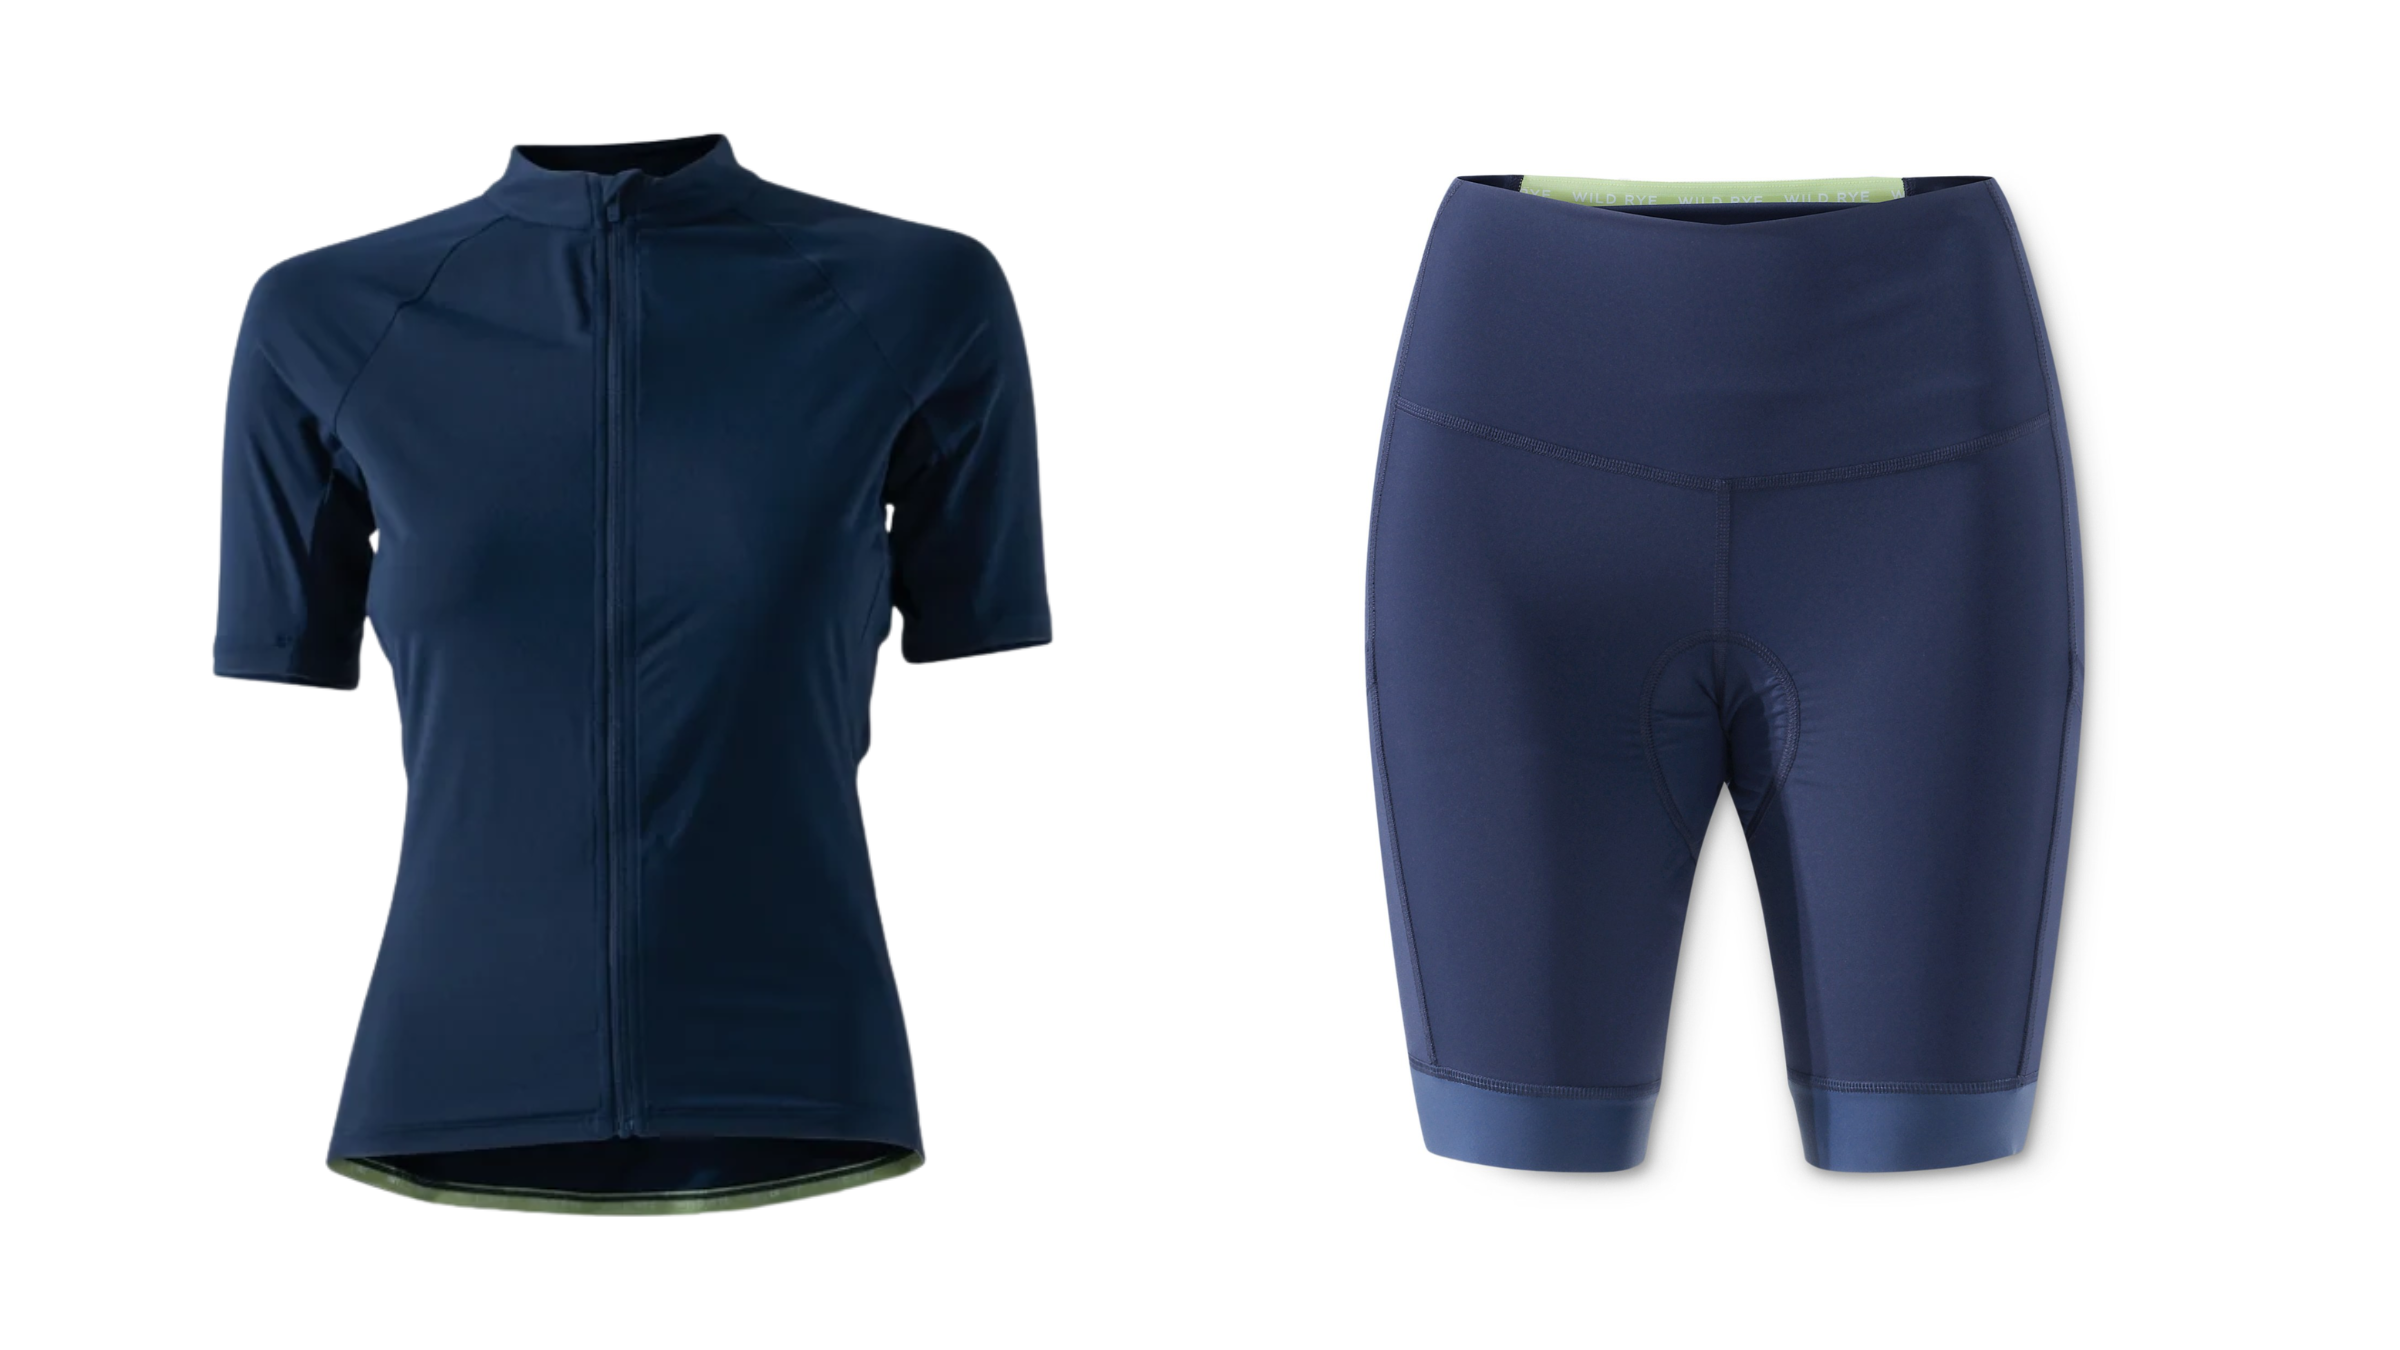
There’s no feeling quite like standing at the starting line ready to roll out, especially when you’re comfortable in your kit. I attribute my boost in confidence to Wild Rye, a biking apparel brand that makes amazing quick-drying, stretchy gear that fits well across a wide range of sizes. Since bike jerseys and chammies already trend tight, it’s nice to have a larger-fitting set for bigger body types like myself.
The Gem Distance Jersey, in particular, feels more flowy in the abdomen than other brands I’ve tried, and the sleeves stretch around bulkier biceps without cutting off circulation. I also love the full-front zip, which makes it easy to dump heat on hard climbs. I paired this jersey with the Alyssa Stash Chammy, designed with a generously high, yoga-style waistband, and elastic bands around the thighs that stretch enough to not constrict the leg. Best of all, their chamois pad kept my bum comfy during all 34 miles. No seat sores for me the day after my race either!
Vivobarefoot Primus Trail Flow Mid
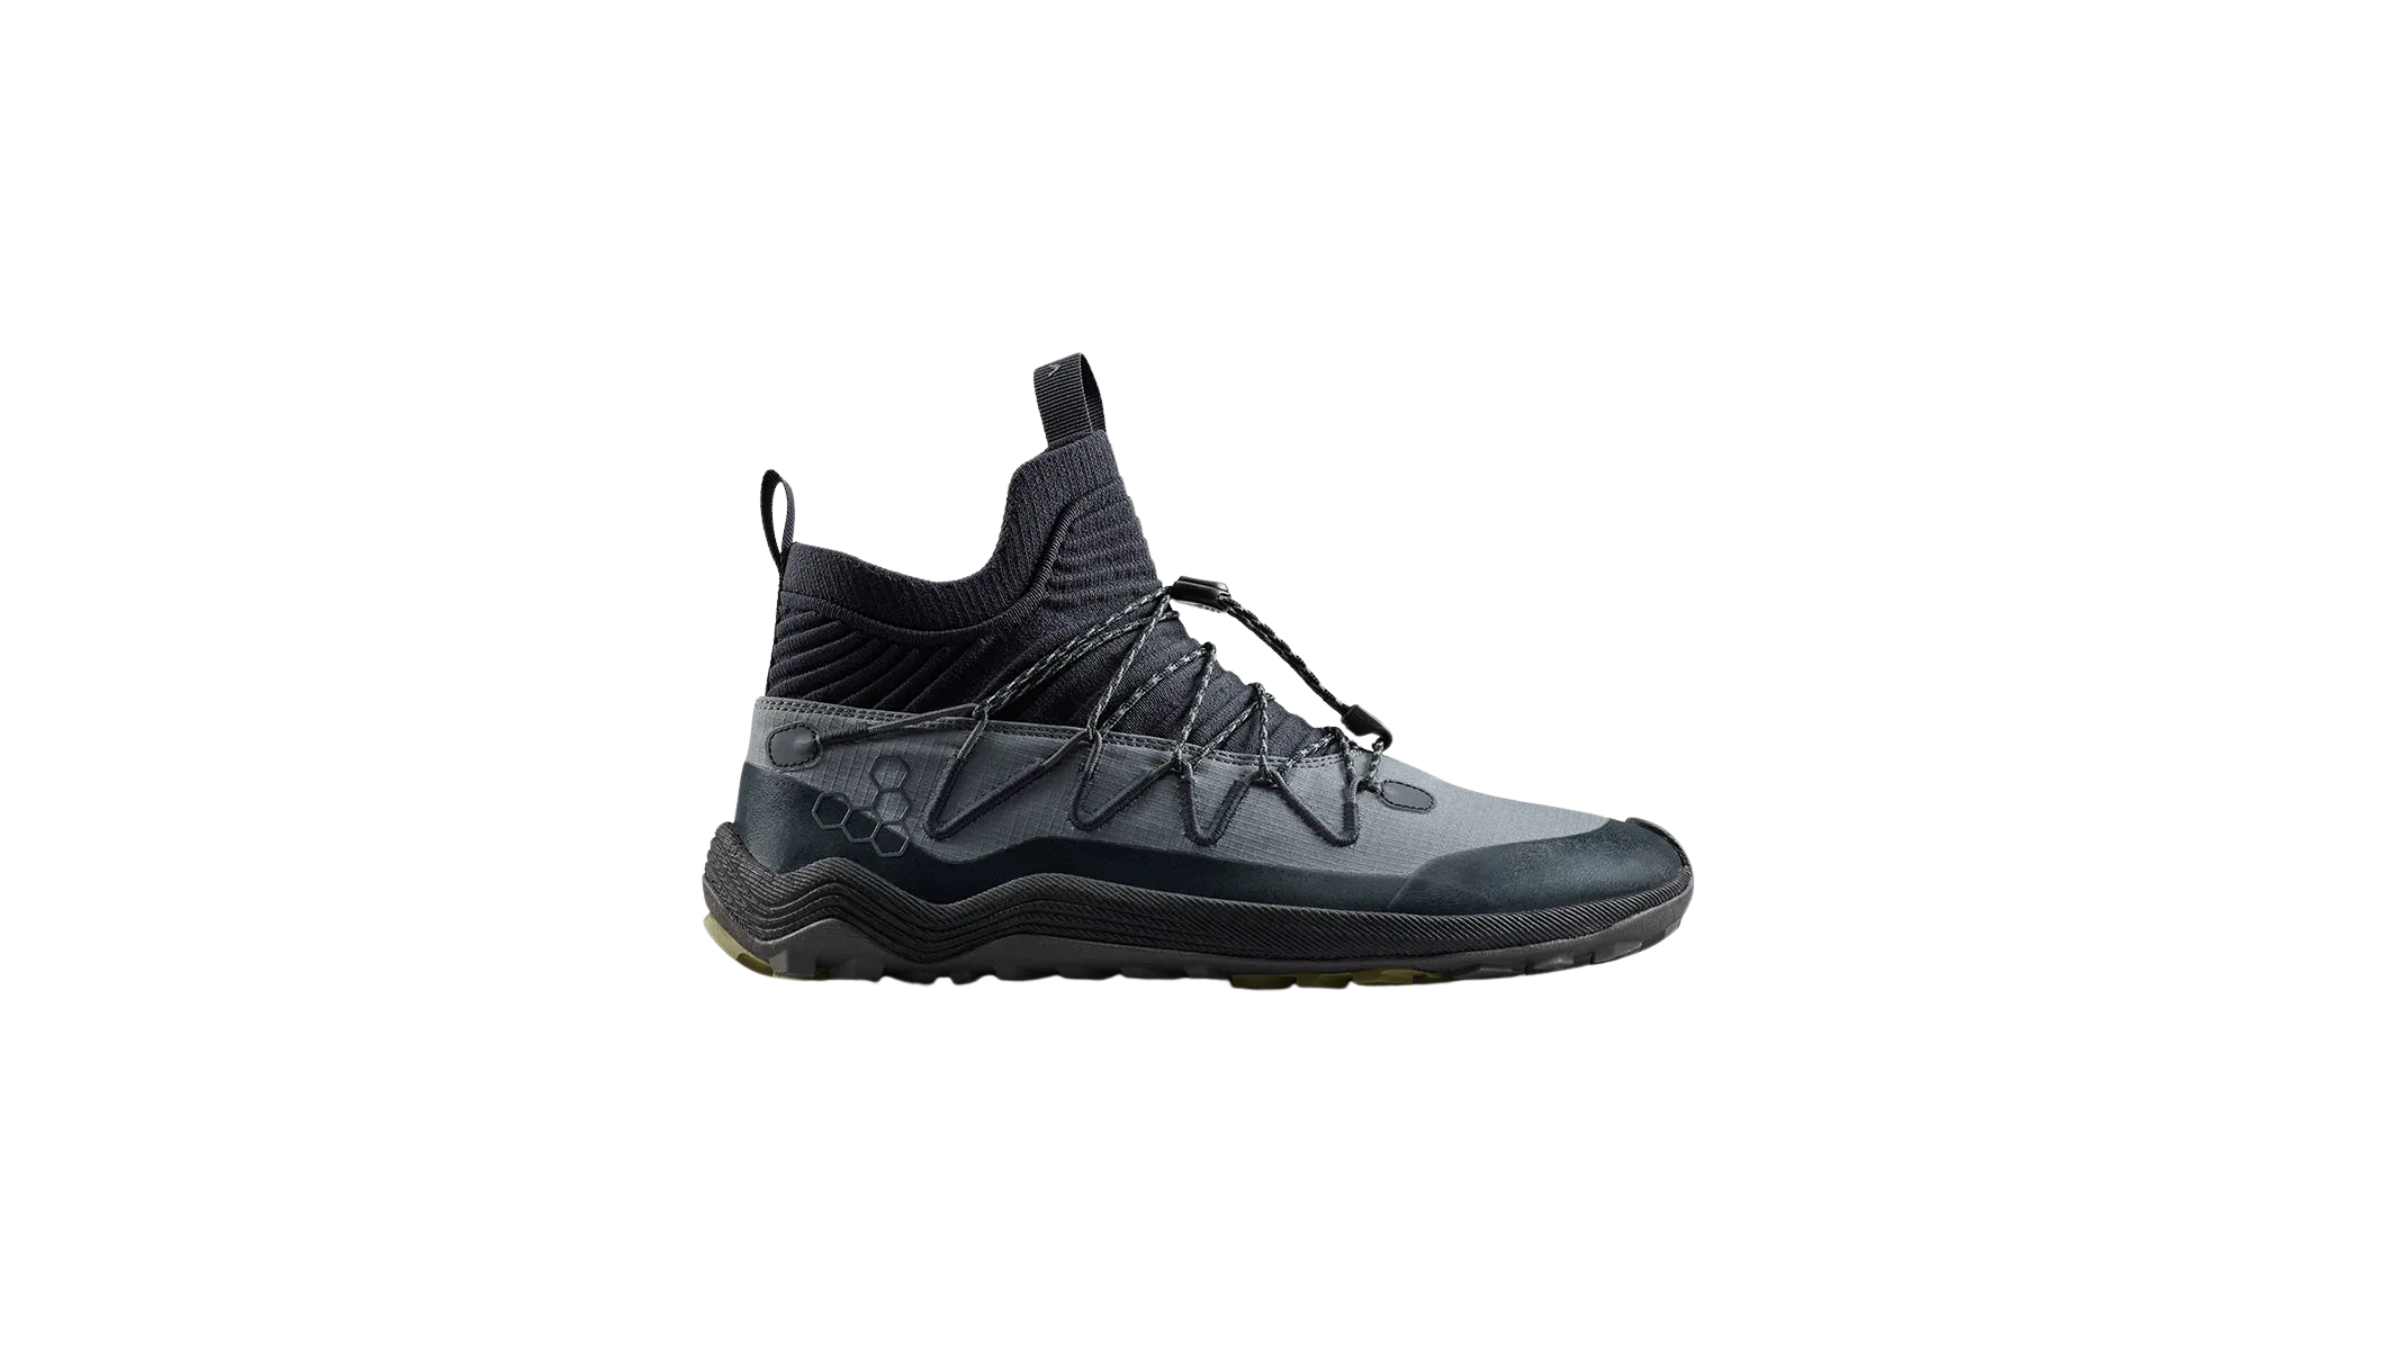
Serious cyclists would look at the Vivobarefoot Primus Trail Flow Mid and scoff that I would even suggest them. They are barefoot trail hikers, not bike shoes—but hear me out. Serious bikers opt for clipless bike shoes for their efficiency and power transfer, but riding clipless is a skill to master, one that inevitably involves taking spills during practice. Since I’m not competing for the podium or to set any records, I’m happy to trade a little performance for confidence underfoot wearing flat-soled shoes, and I’d recommend the same approach for beginners training for their first race.
I rode 40 to 50 miles a day on a rugged, gravel biking adventure in Morocco with these shoes, and had zero issues with foot pain, irritation, or sores. They also served me well in my first bike race. The mid-height of this Vivobarefoot pair protected my ankles from rocks and debris kicked up by my tires, and the spacious toebox provided a natural flex and feel. While walking my bike uphill during the race, I appreciated these comfortable shoes’ ability to manage gravel, roots, dirt, and varied terrain underfoot. And when I’m not biking in them, I’m wearing them on hikes.
Peak Design Out Front V2 Bike Mount
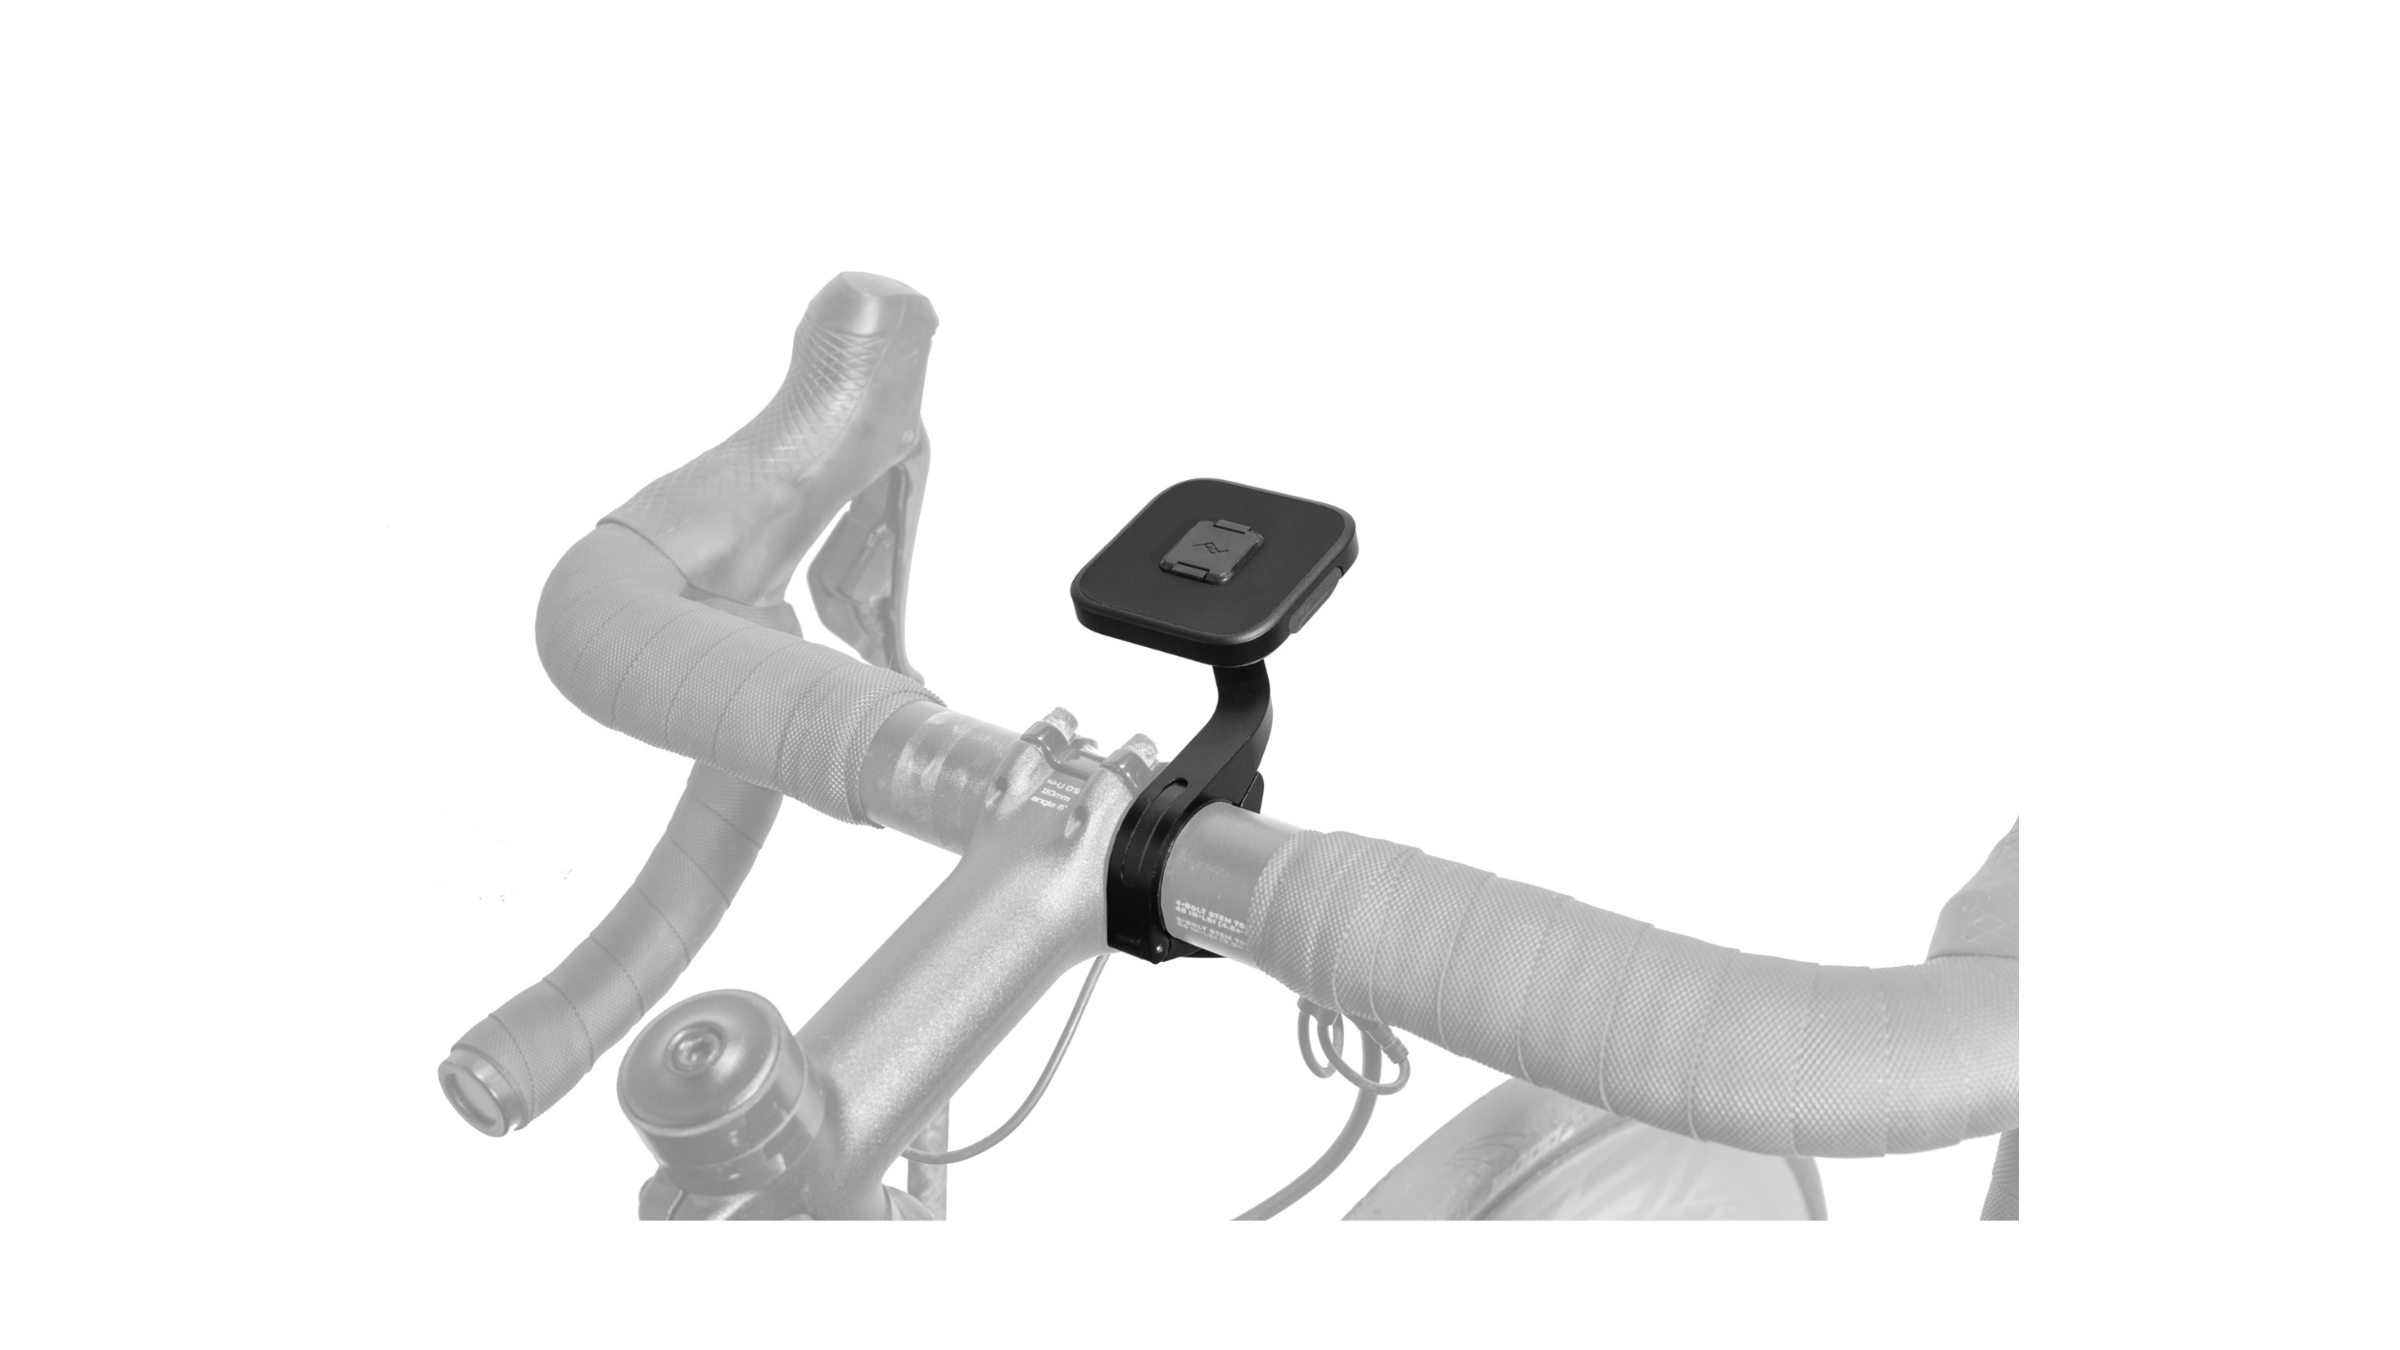
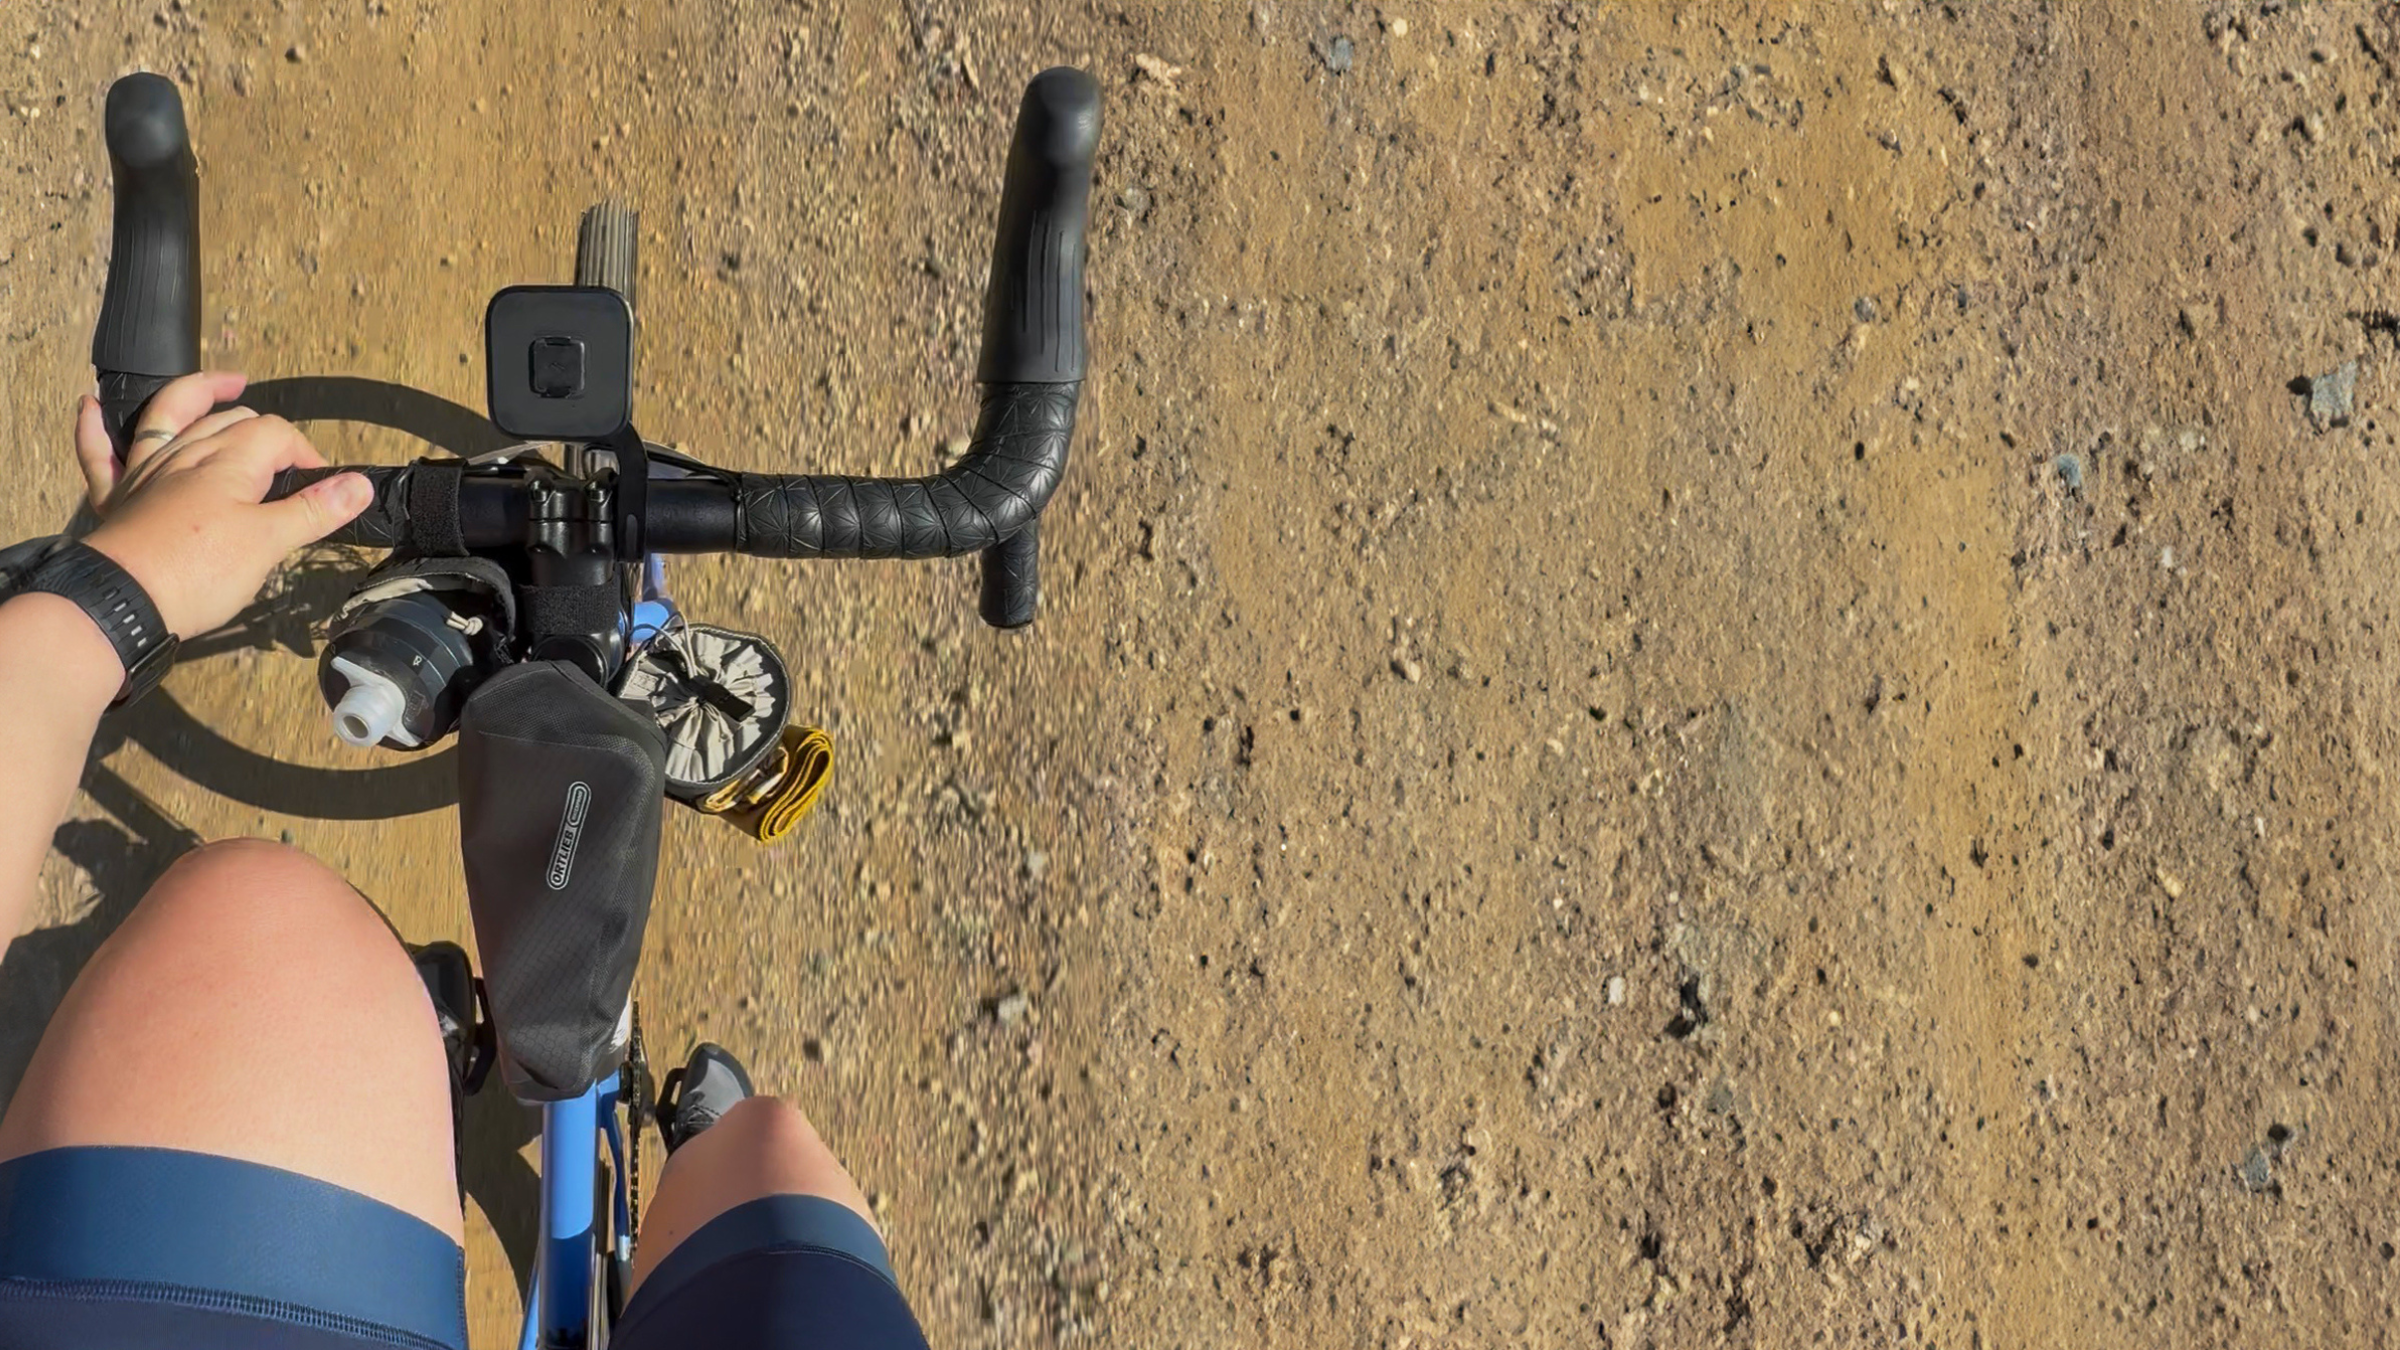
As a beginner, I don’t need an expensive bike computer to track my pace on adventures and race day. If you’re a beginner too, you can get away with just using your phone and an app to map your route. To fasten my phone to my handlebars, I use the Peak Design Out Front V2 bike mount. It works well on my daily urban commutes in Chicago, and it did during my gravel race in Michigan as well.
Paired with one of Peak Design’s phone cases, it takes less than a second to clip and unclip your phone to the mount. Once it’s set, you can forget it. I bombed down hills with loose gravel and bumpy washboard during my race without any worry that my phone would lose its grip. I also appreciated being able to adjust the angle for an easy view of upcoming climbs, turns, and miles. It’s a no-frills, reliable option for race day and year-round riding, with one of the sleekest, most seamless designs I’ve found.
Smartwool Bike Zero Cushion Crew Socks
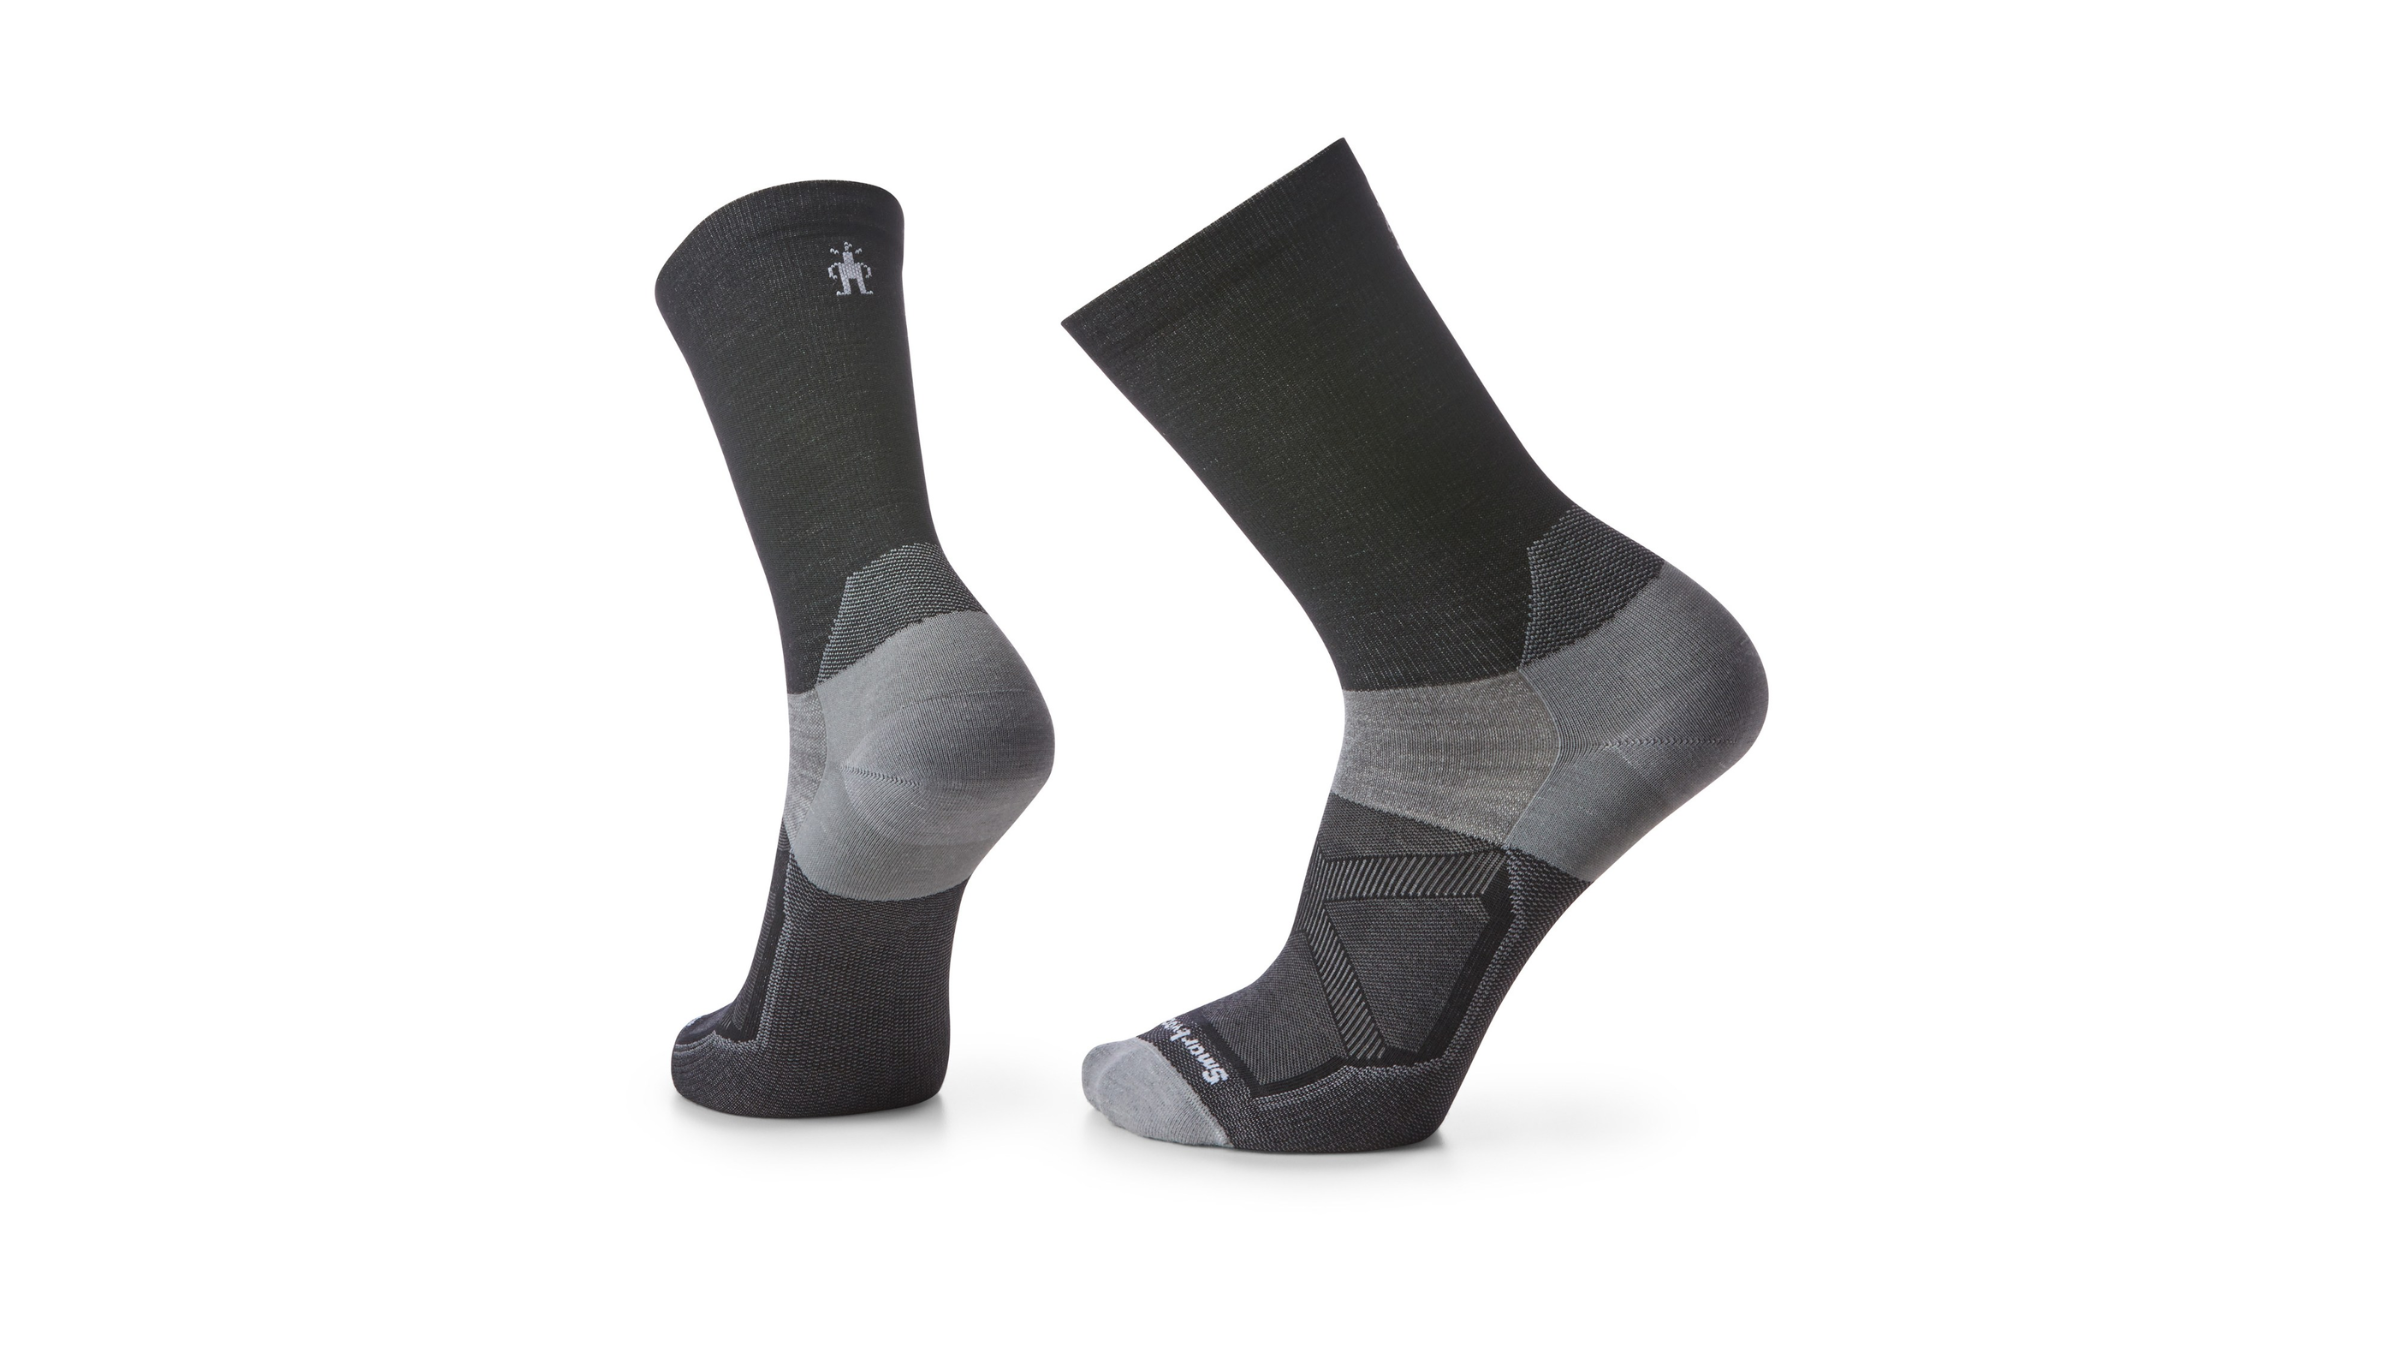
Bike socks are easy to overlook, but they matter. For beginners, I’d go thinner rather than thicker to minimize bulk, and choose a breathable merino wool material that excels at heat management. Crew height keeps grit and debris off your ankles and, depending on your shoe cuff height, can prevent rubbing too.
This pair of Smartwool zero-cushion bike socks is extremely thin and provides a tight (but not too tight) squeeze on my feet so there’s no slippage or rubbing mile after mile. The thin material came in handy around the 25-mile marker when my feet began to swell from continuous riding and the heat. Zero cushion meant no extra padding causing pressure to build up inside my shoes.
Panaracer GravelKing SK Tire
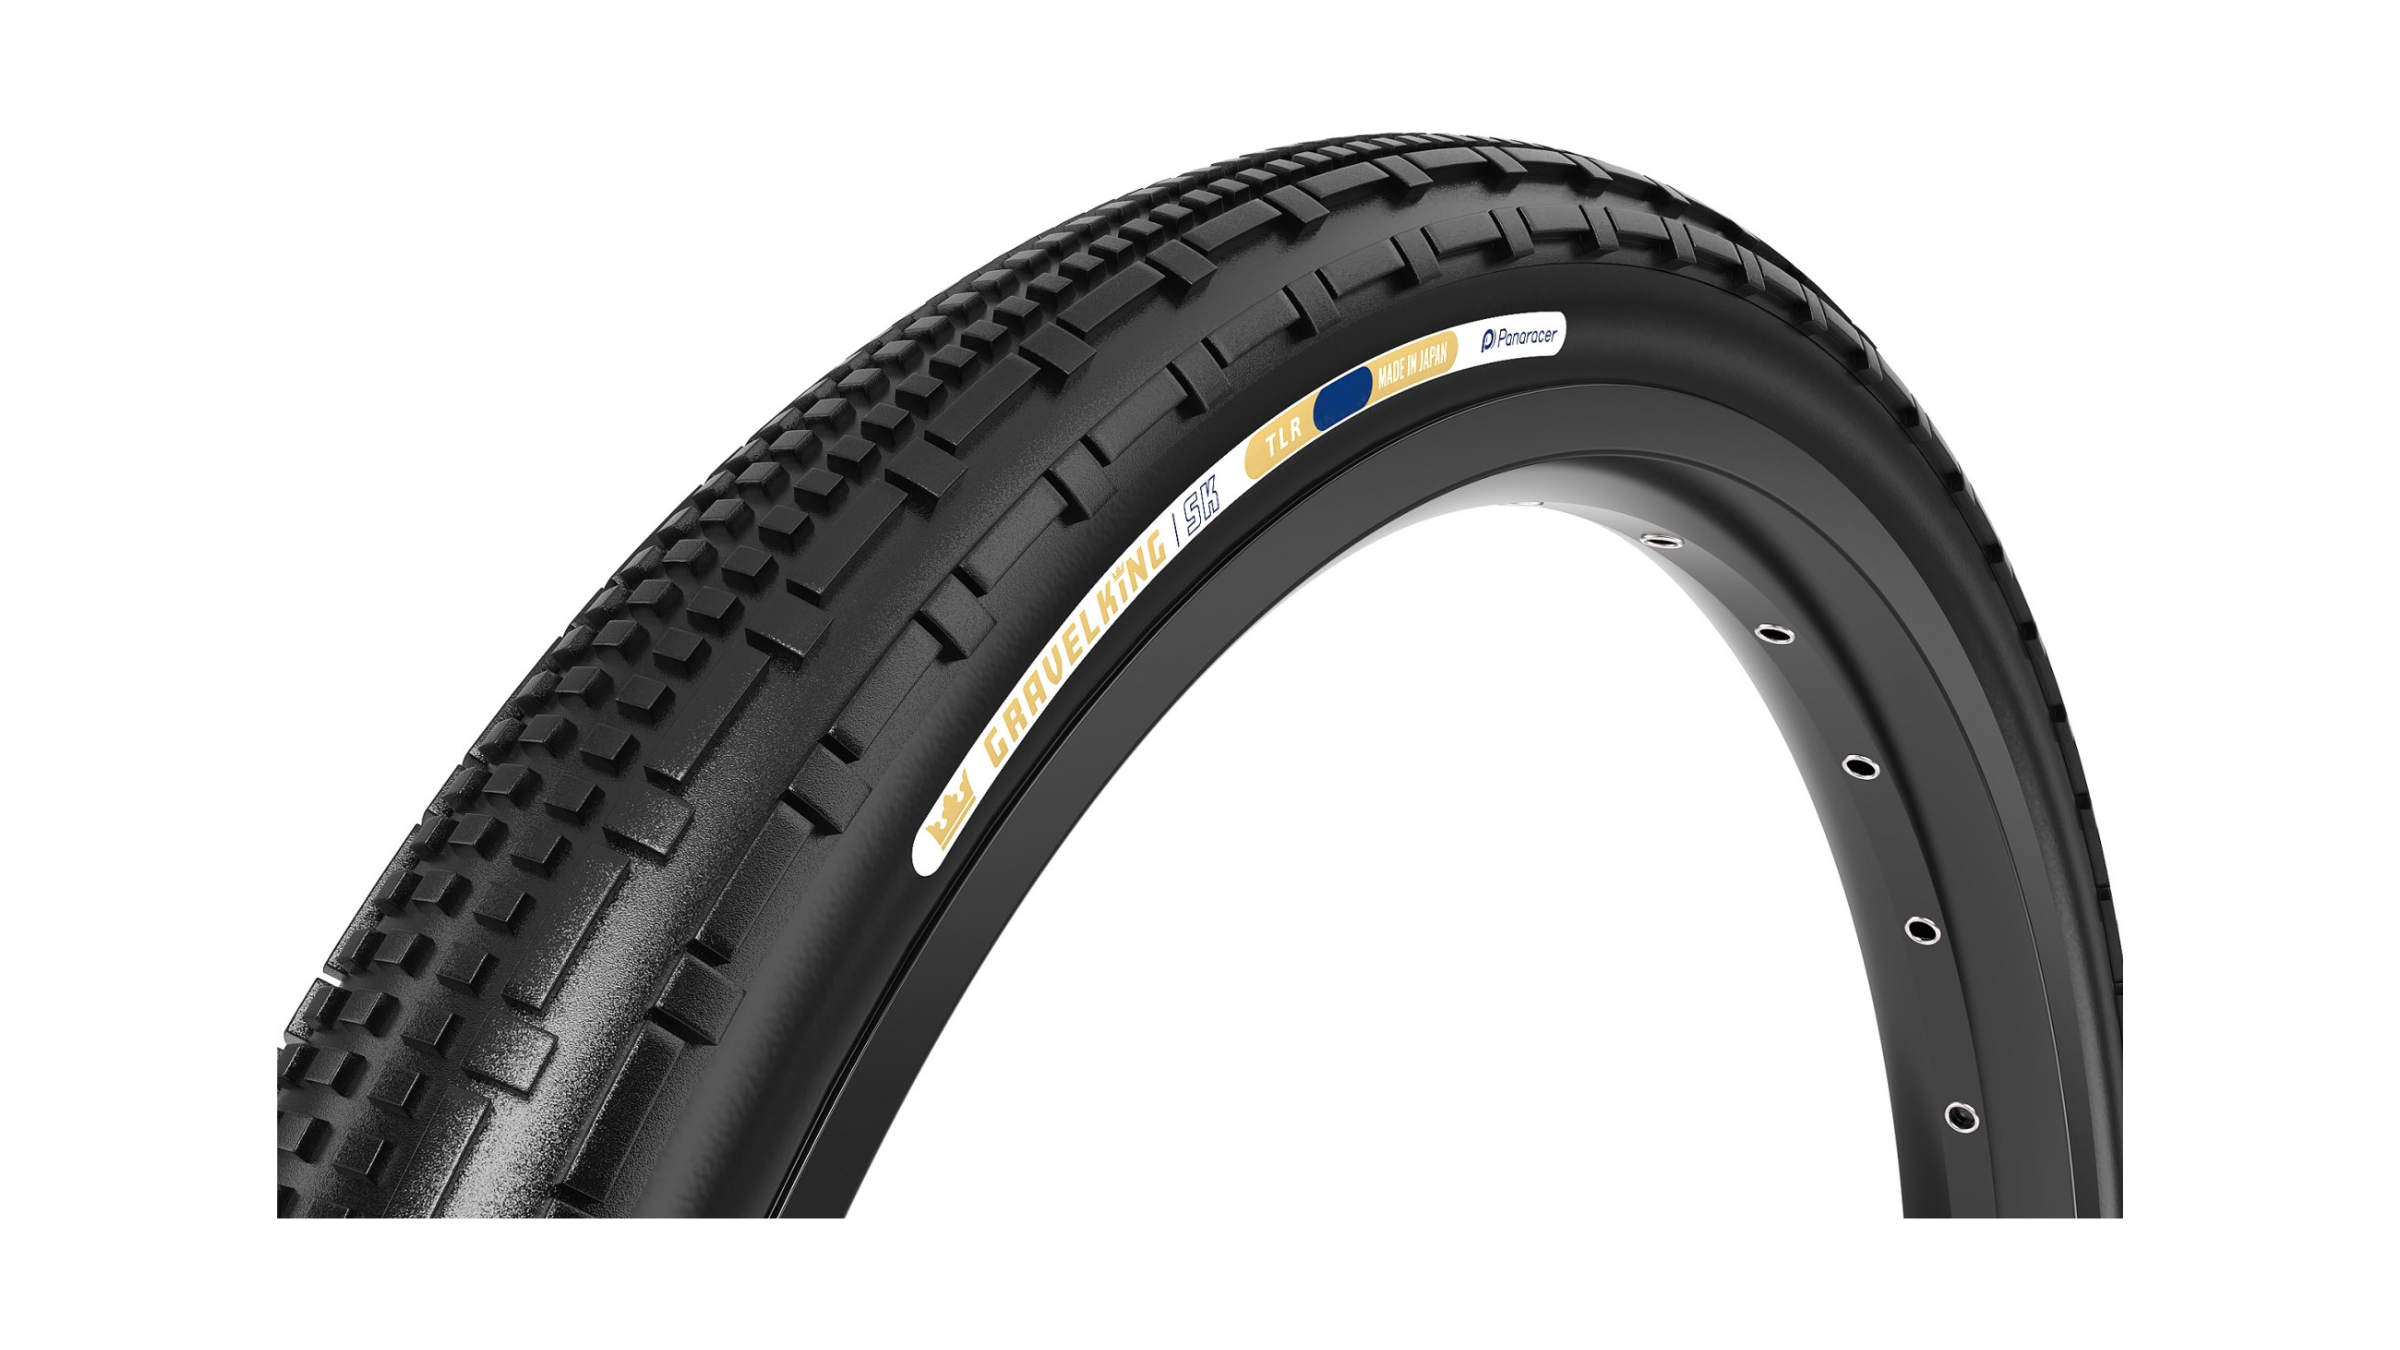
To be honest, most beginners will be perfectly fine riding the factory tires that come installed on a bike. The exception is if your bike has tubed tires and you want to ride tubeless, or if you want a grippier tire for better traction on gravel. My local bike shop convinced me to upgrade my Primos Dame tires to a mid-tier, tubeless-ready gravel tire that requires less maintenance and has a lower risk of punctures or flats. The last thing I wanted, as a new bike racer with few tire changes under my belt, was to be stuck on the side of the course changing a tire.
My Dame didn’t come pre-taped for tubeless, so my local bike shop set me up and upgraded me to the Panaracer GravelKing SK Tire, which they lovingly call “the gravel spitters” because they kick up loose rock as you ride. Anyone drafting close behind me has to deal with the “spray zone,” but I get to enjoy the superior traction on firm and loose terrain alike.
Muc-Off Puncture Plug Tubeless Repair Kit
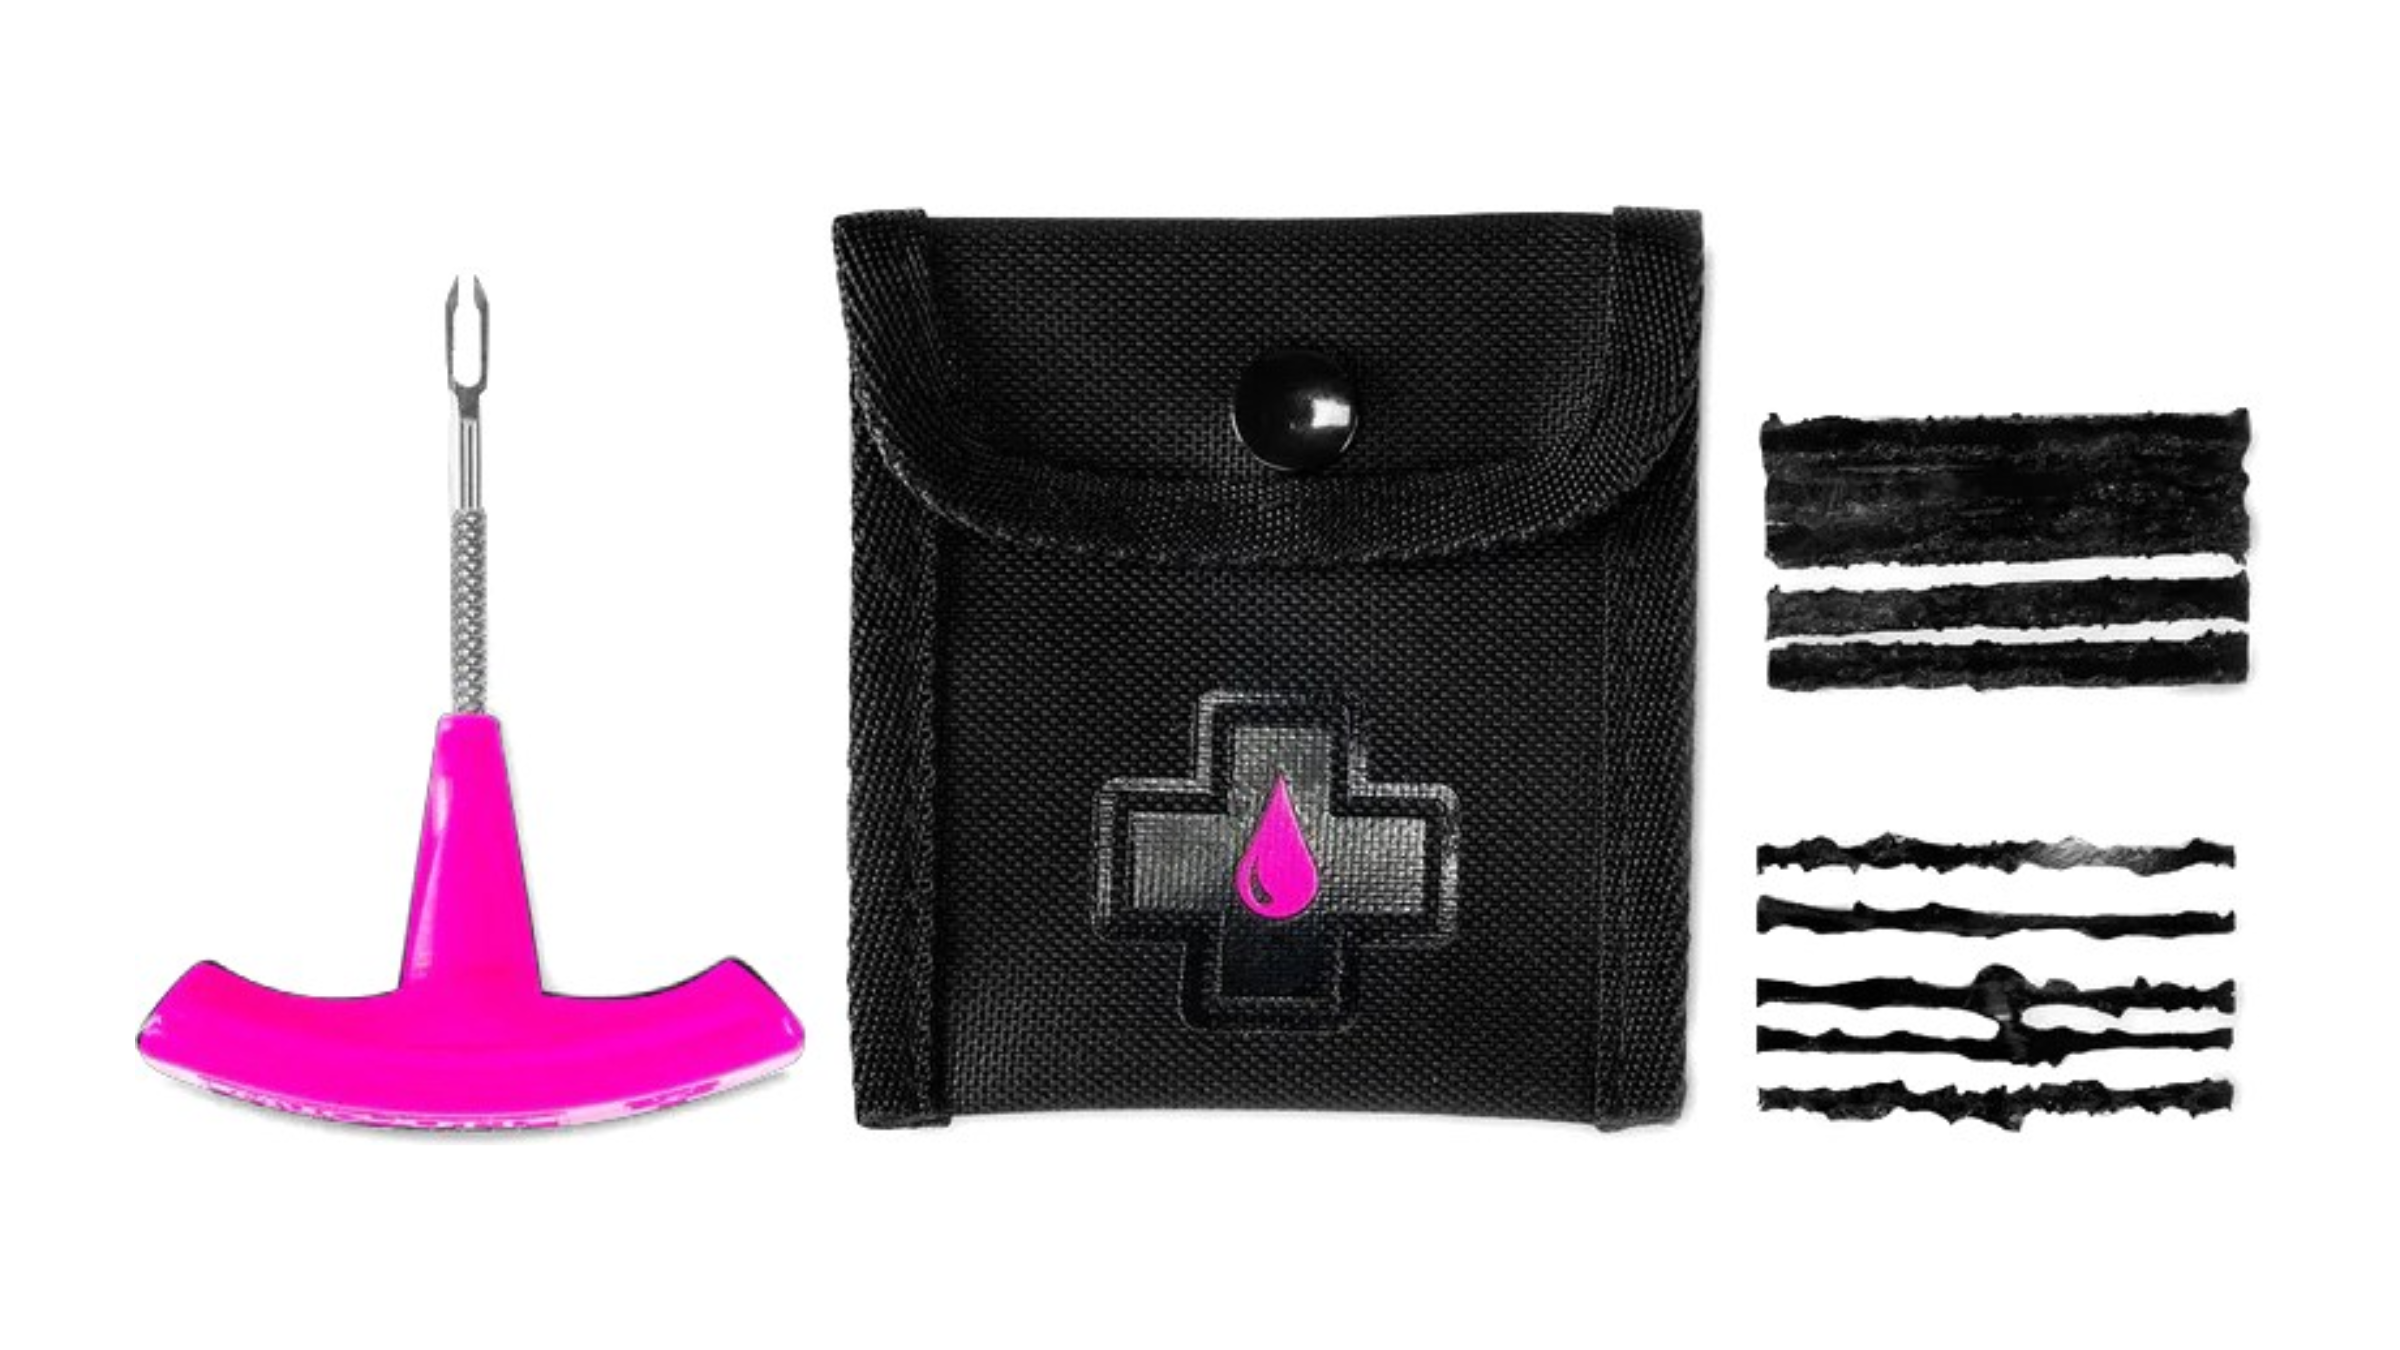
On the off chance you end up with a puncture in your tubeless tire, you can quickly plug it if you’re carrying a tubeless repair kit like this one from Muc-Off. Thankfully, I didn’t need to break out this kit on my first-ever gravel race, but I was glad to have it along for the ride. It comes with a plug tool, rubber plugs, and a small storage pouch for easy carrying.
When a hole is too big for sealant to fix on its own, the 2-in-1 plug tool has a reamer on one side and a plug fork on the other to help you clean out and plug up a punctured hole. It’s a quick fix that may eventually require a more permanent repair. But at least while you’re racing, this gets you back on track without needing to replace an inner tube—a fix that, for a beginner, would probably require the help of a bike mechanic.
Skratch Labs Unsweetened Hydration Sport Drink Mix + Electrolyte Booster
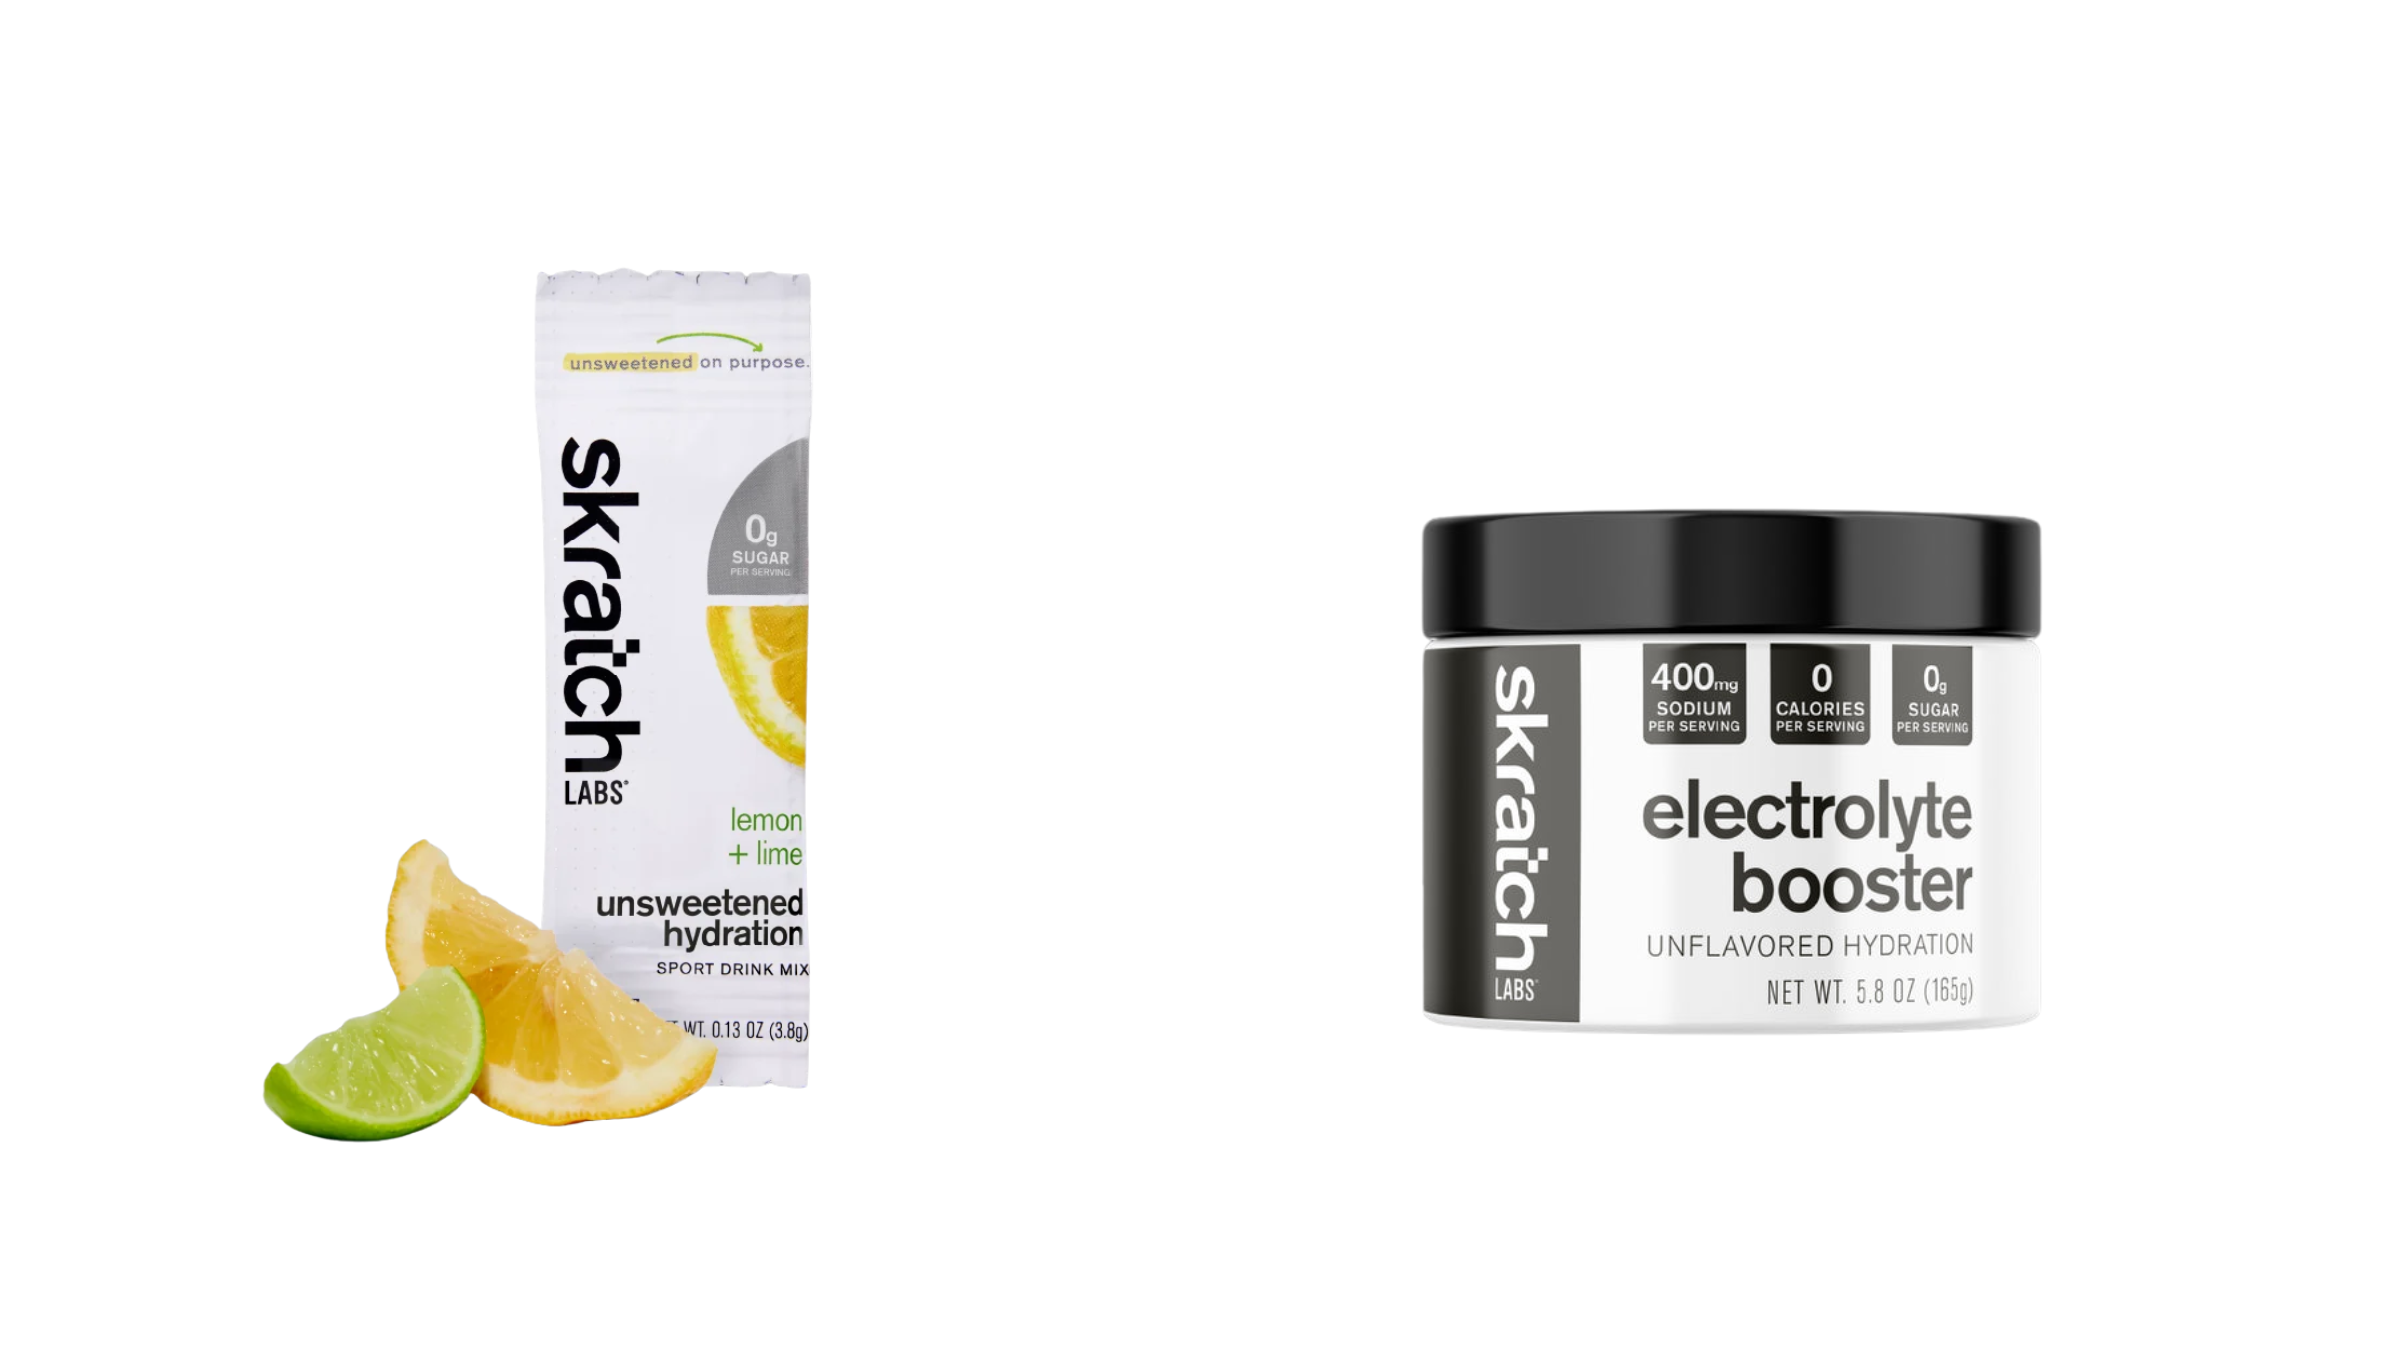
Endurance biking nutrition is a whole world unto itself, and I am by no means an expert. That said, during my training, I dialed in my hydration—an extremely important part of a successful bike race, no matter your experience or skill level. Last summer at an industry conference, I took a Skratch Labs sweat test to measure the amount of sodium I lose during a workout. The result? I learned my sweat sodium concentration is 1100 mg/L while the average person’s is 800 to 950 mg/L. Turns out I’m a salty sweater—the likely culprit for my frequent migraines, especially when biking in the heat.
To combat sodium loss and stay hydrated, I guzzle Skratch Labs’ unsweetened hydration sport drink mix with a serving of electrolyte booster. The drink mix helps replace vital electrolytes lost when sweating: sodium, potassium, calcium, and magnesium. The clear and flavorless electrolyte booster provides an extra 400 mg of sodium per scoop to help fine-tune electrolyte intake without changing the flavor of the drink mix. Other brands are either too sugary or too salty. Skratch, however, is the Goldilocks of hydration.
Camelbak Podium Bottle
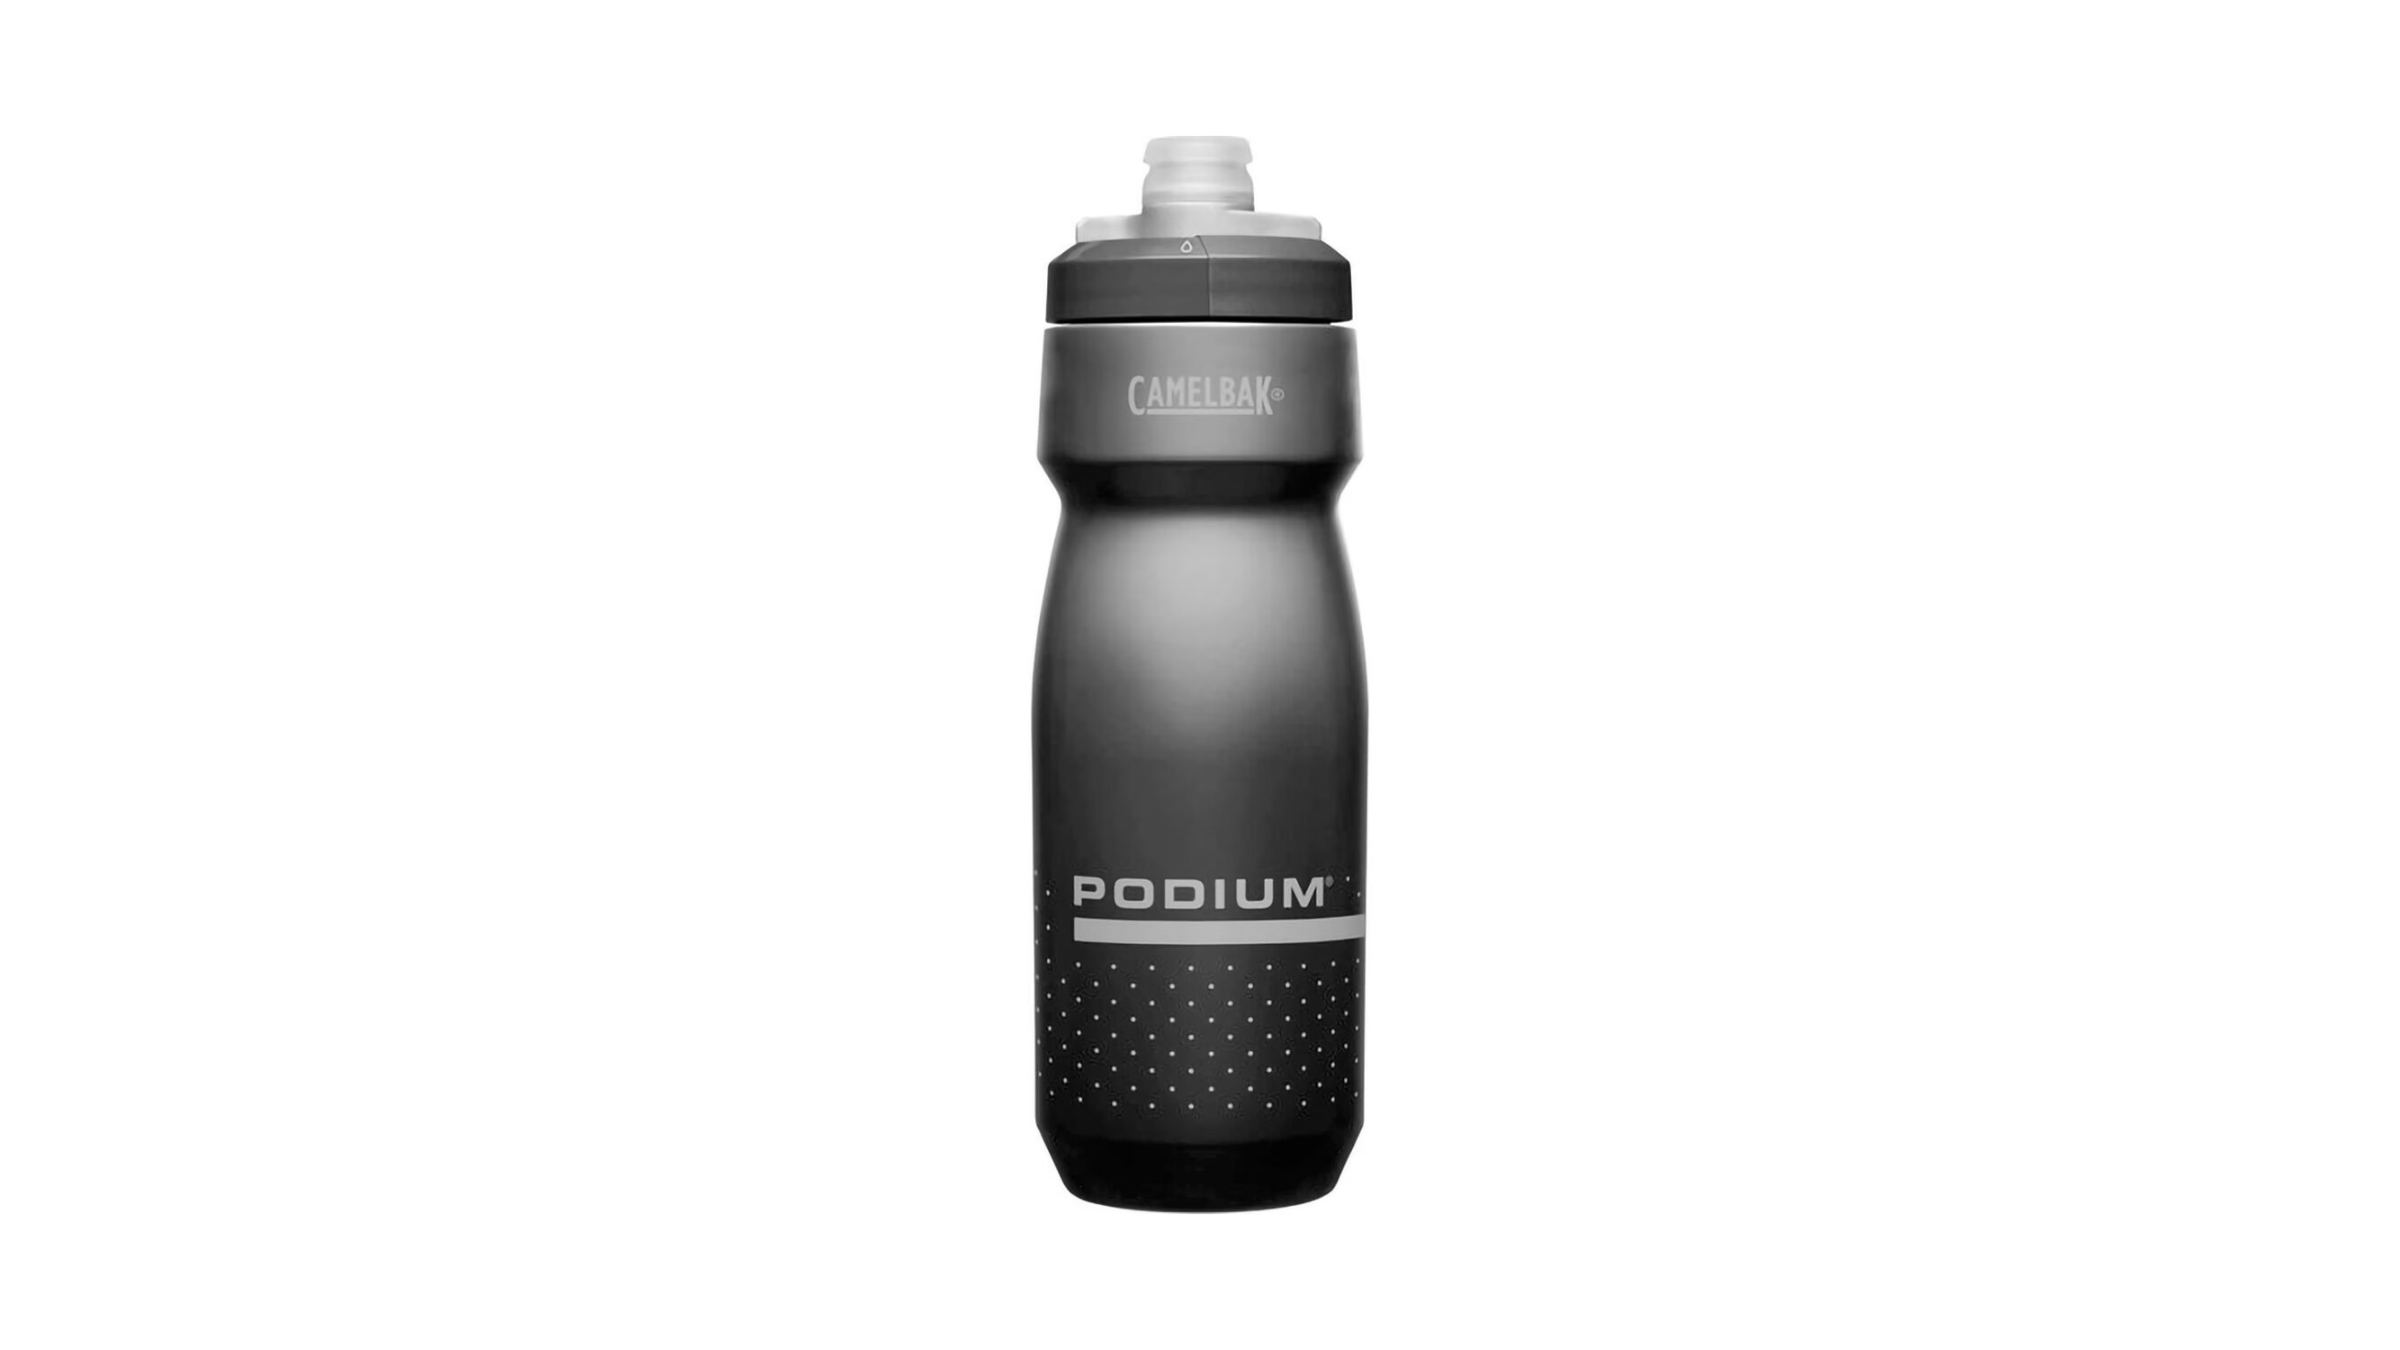
Of course, when it comes to hydration, you need a bottle to drink from. To keep it simple, I tend to grab a plastic lock-cap bottle that ensures I won’t spill any precious hydration along the route. I prefer plastic bottles because they’re easier for me to drink from than sucking the mouthpiece of a hydration bladder. The 24-ounce size slips easily in and out of my bottle cage while I’m riding, and I generally carry two bottles (one in a cage and one in a water bottle sleeve on my handlebars) with hydration mix in one and regular water in the other.
The Camelbak Podium Bottle has been a tried-and-true hydration solution for bike packing and provided adequate volume for my gravel race as well. If you want to keep your liquids chilled while you ride, opt for their stainless steel insulated version.
