

Published September 25, 2026 03:06AM
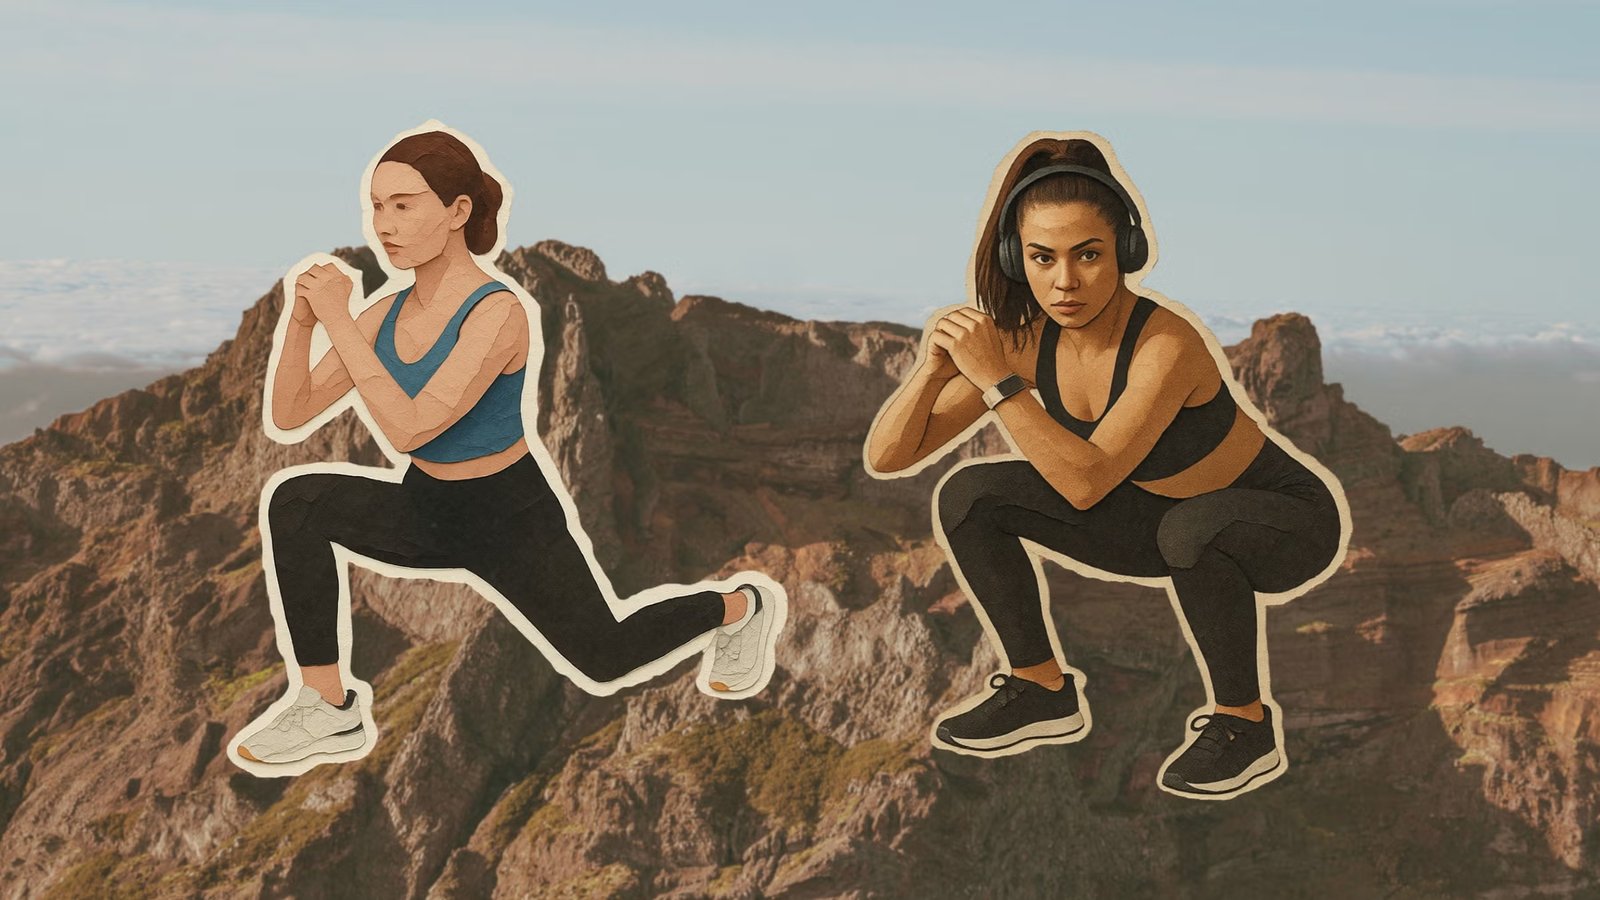
The following exercises are recommended by Jenny McCoy, a NASM-certified personal trainer and Outside’s Moves columnist, and Tom Walters, an orthopedic physical therapist. You can incorporate any of these exercises into your regular workout routine to build quad strength and reduce knee pain when hiking downhill.
Uphill hiking is the true lung-buster. But the downhill can really do a number on your quads and knees, leaving them sore, cranky, and painful for days to come.
When you’re hiking downhill, the quads are the main braking force, Tom Walters, an orthopedic physical therapist and author of Rehab Science: How to Overcome Pain and Heal from Injury, told Outside. Every time you step your foot on the ground, your knee bends to absorb some of that force. Gravity wants to bend your knee even further, but the quads eccentrically contract (meaning, they lengthen as they’re under tension) to slow that bending, which stops you from toppling down the mountain.
Controlling your body in this way is a big job for the quads. And it comes at a cost: doing a bunch of eccentric loading tends to trigger muscle soreness and tendon irritation, Walters said. So when your quads and the tendons that attach to them work eccentrically during a long downhill hike, the end result can be super sore quads, reactive tendinopathy (short-term irritation of the tendon), and pain at the front of the knee. (The patellar tendon attaches to your kneecap, so when it’s overloaded, it pulls on the knee, causing discomfort there.)
None of that is fun, but fortunately the solution is pretty simple: incorporate functional quad strengthening exercises into your routine. Doing these kinds of moves regularly can lessen the impact of post-exercise soreness by making your muscles better able to tolerate the demands of downhill hiking. Quad exercises also mechanically pull on the tendons that connect to the knee, improving their capacity for load. This makes your tendons stronger and less likely to get irritated by downhill hiking, in turn making the tissues that support your knee more resilient to loading.
6 Quad Exercises for Pain-Free Downhill Hiking
Equipment Needed
- One heavy dumbbell
- A box or step
- A chair or bench
The moves below, which are listed in order of increasing difficulty, aren’t intended to be performed together as a full workout. That would be unnecessary and probably overkill if your goal is quad and tendon strengthening, Walters said. Instead, pick one to three exercises from the list that match your current fitness level. Weave them into your workout routine two to three times a week.
If you pick the sixth exercise (double-leg hop to single-leg landing), tack it onto an upper-body workout or do it at the beginning of a lower-body workout, so that your legs are fresh when performing it, Walters advised. Doing it on tired legs will make it really challenging for you to control the movement, which can increase your injury risk.
1. Wall Sit
This beginner-friendly exercise involves holding your trunk up straight, which loads your quads and patellar tendons more than a squat where your trunk is leaned forward (that latter positioning biases the glutes). The move gets more challenging the further you lower down. Pick the height between fully standing and thighs parallel with the ground (but no lower than that) that’s challenging but doable for your current fitness level.
How to Do It:
- Stand with your back against a wall, arms resting by your sides, and feet hip-distance apart, toes facing forward.
- Keeping your back pressed to the wall, slide your back down the wall until your knees are bent to 90 degrees. (Engage your core so your lower back maintains contact with the wall.)
- Hold for 30 to 60 seconds to complete one rep.
- Do four to five reps.
Make it harder: Hold a weight plate or dumbbell at chest level. Or, lift one leg up.
2. Goblet Squat
This squat variation involves holding a dumbbell in front of your body, which naturally makes your trunk want to tip forward. Proper form means counteracting that by engaging your spinal extensors to keep your trunk upright. That upright trunk positioning makes the goblet squat more quad-dominant, especially compared to a back squat, which engages more glutes because you need a slight forward lean to avoid being pulled backward by the weight.
How to Do It:
- Stand tall with feet hip-distance apart (or slightly wider) and hold a heavy dumbbell vertically at chest-level, gripping the top end with both hands. Engage your core so your back is flat (not arched or rounded). Make sure you choose a weight that’s heavy enough that you finish each set feeling like you could only complete two more reps with good form.
- Keeping a flat back, inhale as you bend your knees and push your hips back to lower down into a squat. Stop when your quads are parallel to the ground (or before that point, if you have mobility restrictions). Pause for a moment, then exhale and press through your heels to return to standing, squeezing your glutes as you come up. This is one rep.
- Do 10 to 15 reps.
- Complete three sets.
3. Forward Lunge
Compared to a static or reverse lunge, the forward lunge involves the front knee tracking further forward over the toes, which places more load on the quads and front part of the knee, helping to strengthen them. Plus, as you step forward, you have to decelerate, which is “just like the downhill aspect of hiking,” Walters said. That means it’s really functional for building the quad and patellar tendon strength you need to hike downhill with less pain.
How to Do It:
- Stand tall with feet hip-distance apart. Engage your core so your back is flat (not arched or rounded). This is the starting position.
- Step forward with your right leg and firmly plant that foot on the ground, then bend both legs so that your knees form 90-degree angles. (It’s OK if you can’t lower down that far; go as low as you comfortably can.)
- Pause for a moment at the bottom, then press through your front foot to return to the starting position.
- Now step your left foot forward to complete a lunge on the other side. This is one rep.
- Do 10 to 15 reps.
- Complete three sets. (Take enough rest in between sets to help your heart rate recover.)
Make it harder: Hold a dumbbell in each hand. Or, if you have space, make it harder by doing walking lunges, which involve more speed and momentum.
4. Forward Step-Down
This exercise is another one where the knee translates forward over the foot, making it really similar to how your quads and knees get loaded in downhill hiking. And the motion itself—which is all about lowering one foot down in front of you with control—is really “functional and transferable” to hiking, Walters said.
How to Do It:
- Stand tall on a box or step with your feet hip-distance apart.
- While keeping your right leg firmly planted, lift your left leg up and flex that foot. Hold your left leg out in front of your body, knee straight. This is the starting position.
- Keeping a tall posture (i.e., don’t lean forward), slowly bend your right leg as you lower your left heel towards the ground. Tap your left heel to the ground, then press through your right foot as you straighten that leg and return to the starting position. Make sure your hips stay level and that your grounded knee stays aligned with that ankle the whole time. This is one rep.
- Continue for 10 to 15 reps, then switch sides and repeat.
- Complete three sets.
Make it easier: Slide one arm along a wall for balance, or grip a hiking pole in each hand.
5. Single-Leg Bench Squat
This one’s “surprisingly challenging,” Walters said. If you go slow, stay in control, and use stellar form as you lower down–meaning your hips stay level and knees stay aligned with your ankles the whole time.
How to Do It:
- Stand tall with your back facing a bench, feet hip-distance apart. Engage your core.
- Lift your left leg off the ground and extend that foot in front of you with toes pointing up. This is the starting position.
- Keeping an upright torso, bend your right leg to lower your butt down onto the bench.
- Pause on the bench for a moment, then keeping your left leg lifted, press through your right foot to stand up and return to the starting position. This is one rep.
- Continue for 15 to 20 reps (or stop before that point if you’re too fatigued to keep good form), then switch sides and repeat. The goal is to eventually work up to 15 to 20 reps per side.
- Complete two to three sets.
Make it easier: Use a higher chair, with the goal being to eventually get to the point where, when you sit in the chair, your knee is almost at 90 degrees.
6. Double-Leg Hop to Single-Leg Landing
This is not a strength exercise; it trains power and helps your patellar tendons store and release energy. And that has strong carryover to traversing a technical hiking trail with lots of irregular downhill stepping. “Jumping like this and landing on one leg is very similar to a quick step [on a hiking trail] where you have to catch yourself,” Walters explained.
How to Do It:
- Stand tall with feet hip-distance apart. This is the starting position.
- Bend both knees slightly, then press through your feet to hop straight up.
- Land softly on just your right leg and balance in this position for a moment.
- This is one rep.
- On your next rep, land on the left leg.
- Do six to ten reps per side, alternating each time.
- Complete three sets. However, stop before that point if your landings are getting wobbly.
Want more Outside health stories? Sign up for the Bodywork newsletter. And for tips on how to train, fuel, and recover better, sign up for the Sweat Science 101 newsletter.
